
Deck // JL Installation.
So, you’ve purchased a Deck for your Jeep JL. Congrats! Now it’s time to get it installed.
Tools Needed:
Blanket or Furniture Pad.
4mm Allen Key/T-Handle or Socket.
Time Needed:
15-30 Mins.
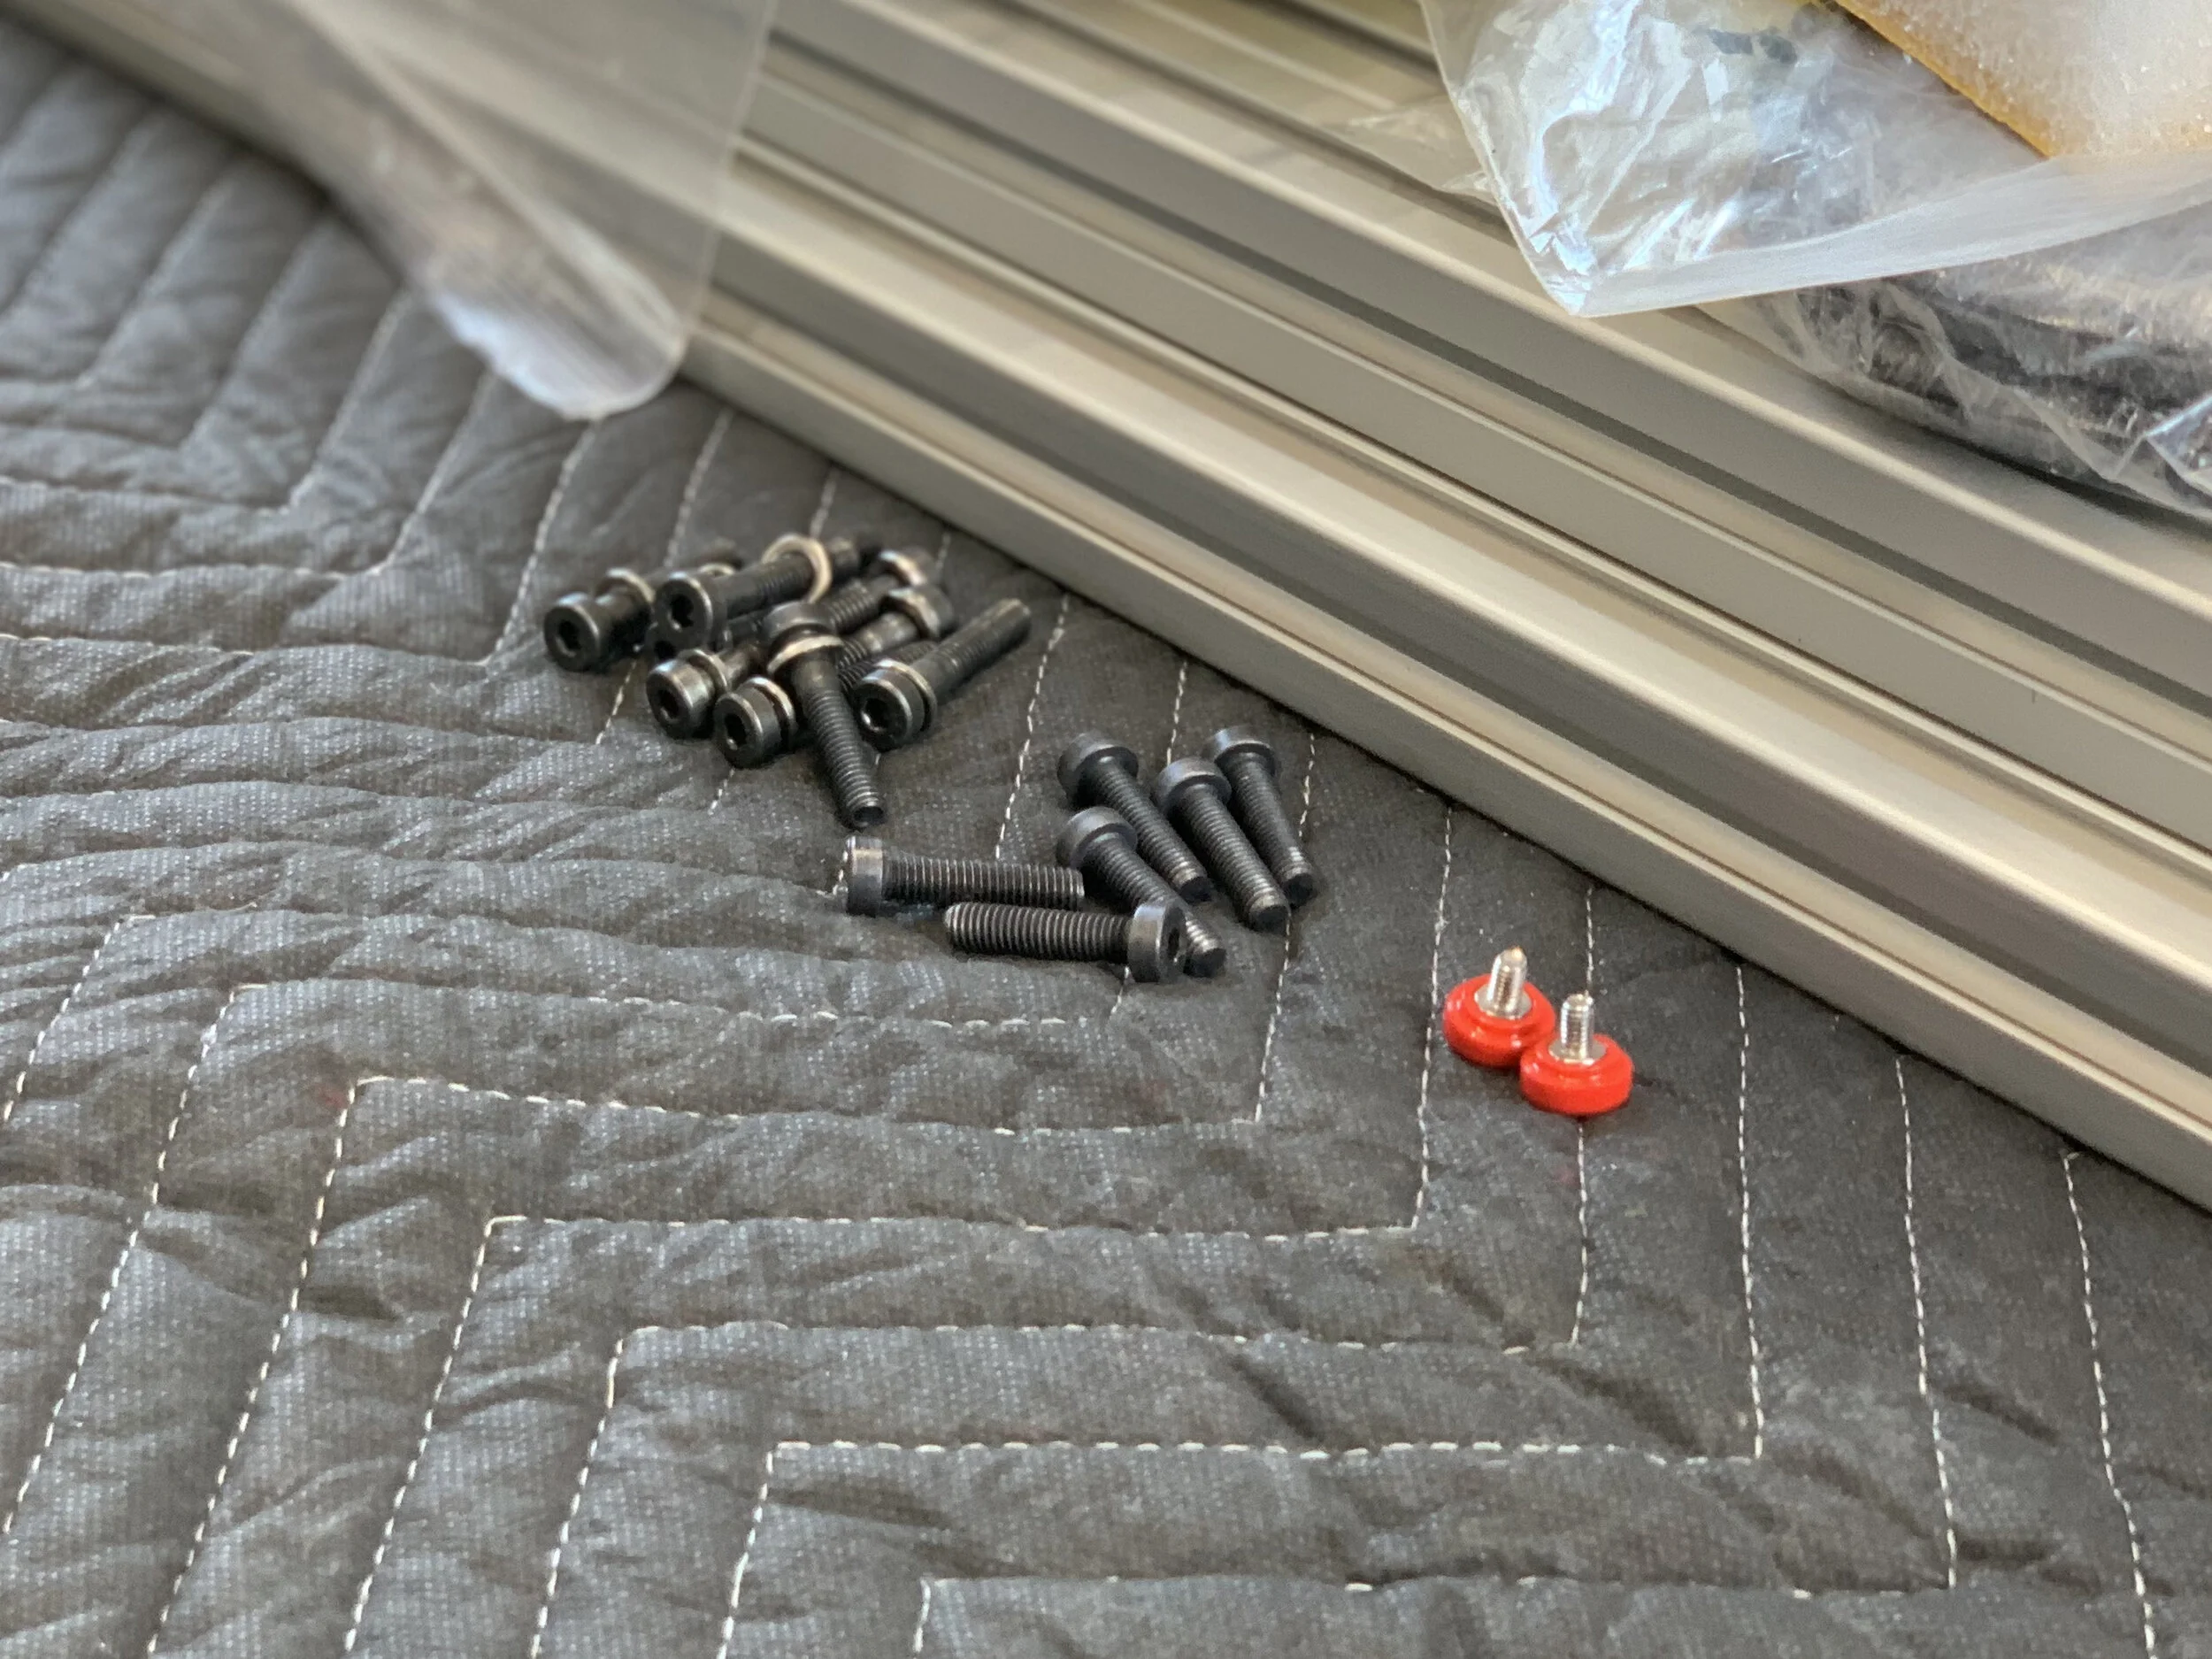
Let’s take a look at what comes in the box.
Deck Base (x1)
Deck Top Plate (x1)
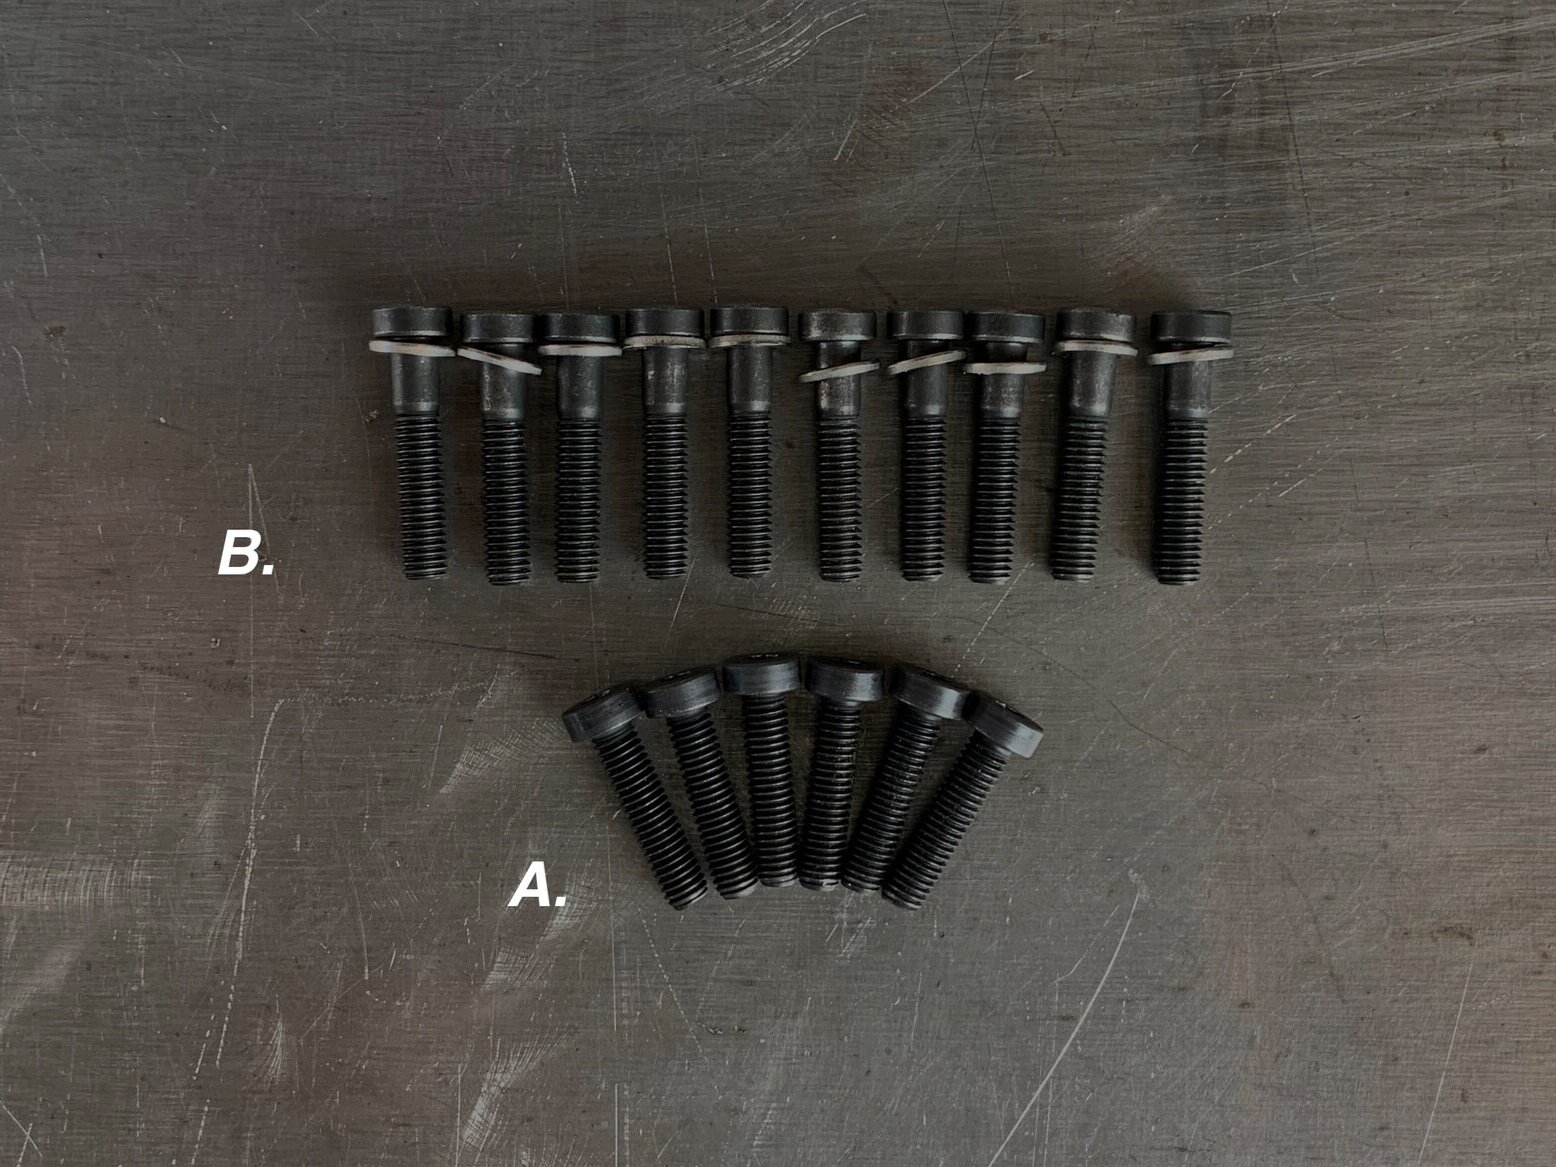
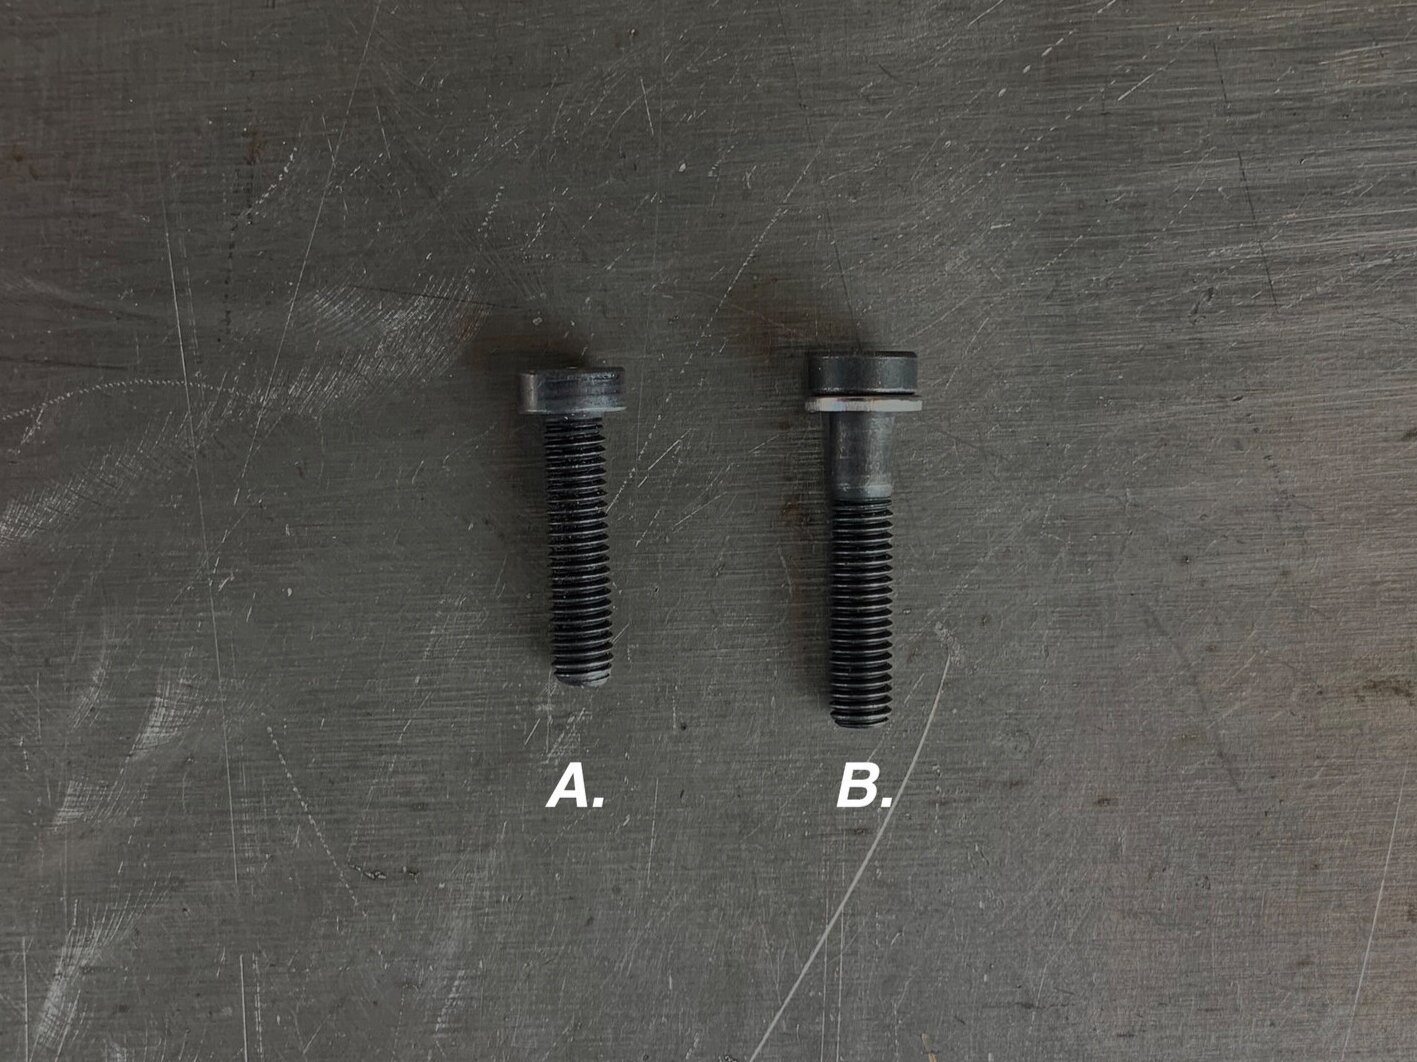
6mm Bolt A (x6)
6mm Bolt B (x10)
6mm Washer (x10)
Red 4mm Thumb Screws (x2)
Locking tabs (x2)

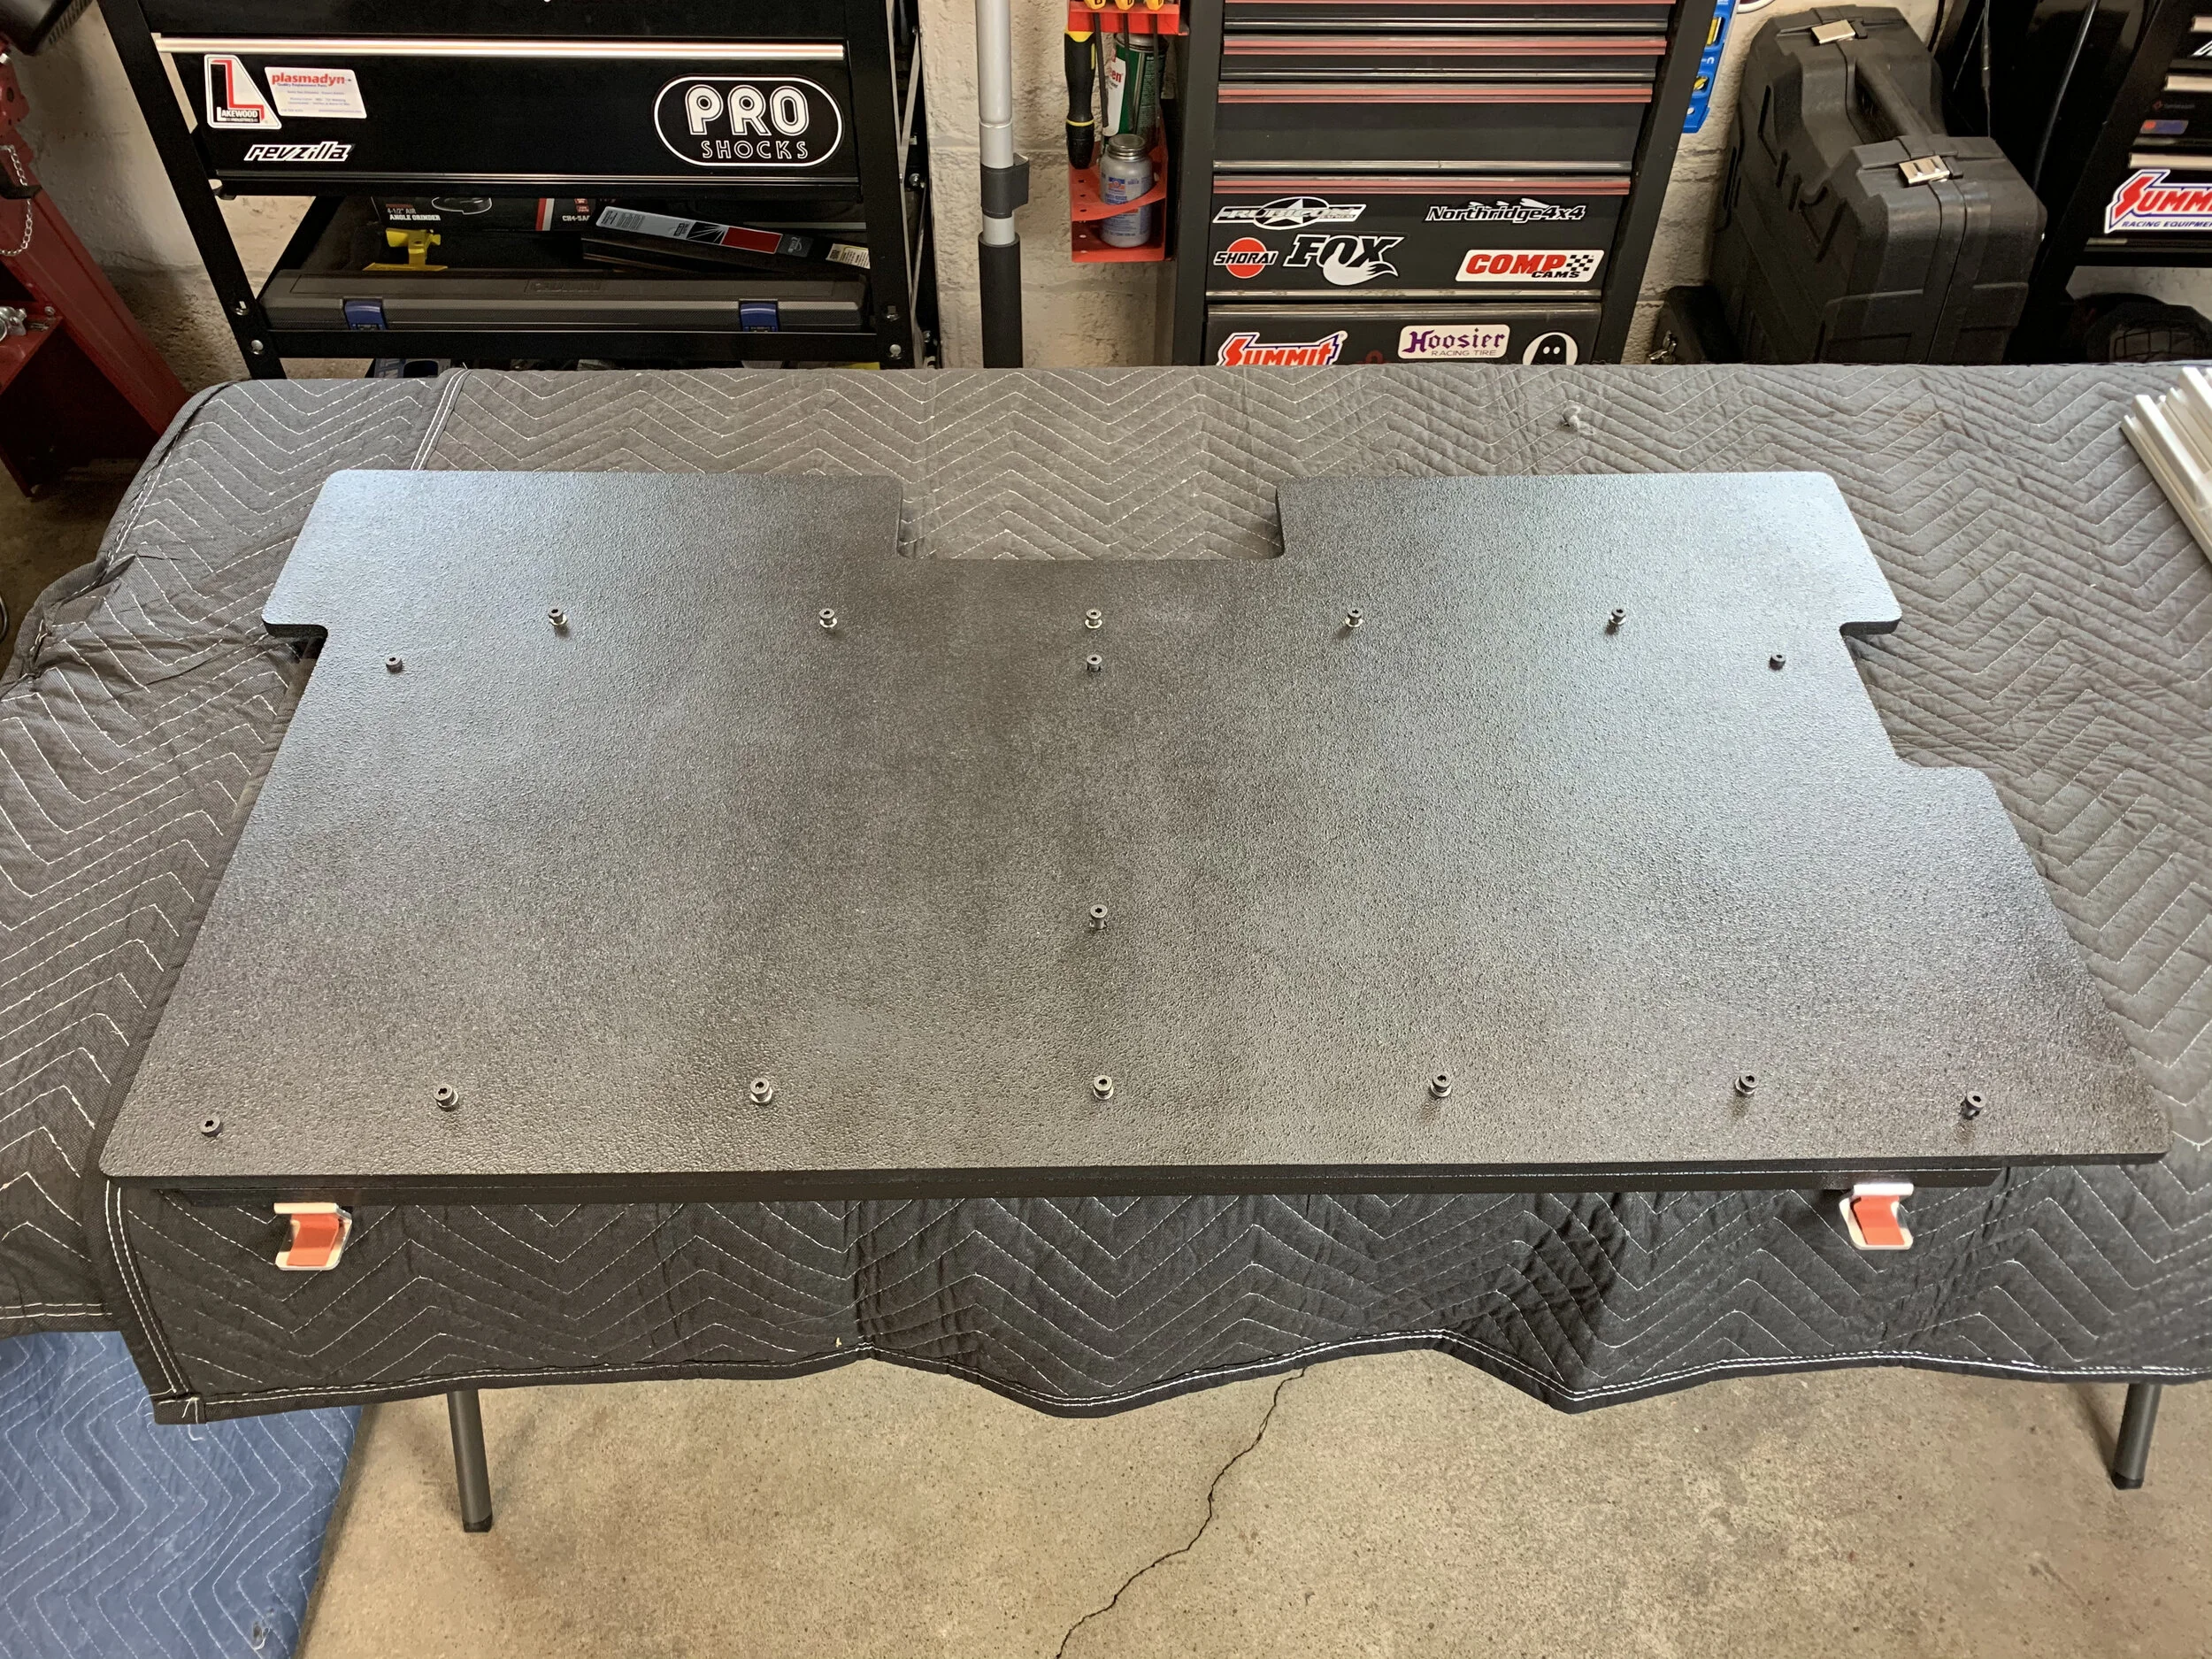
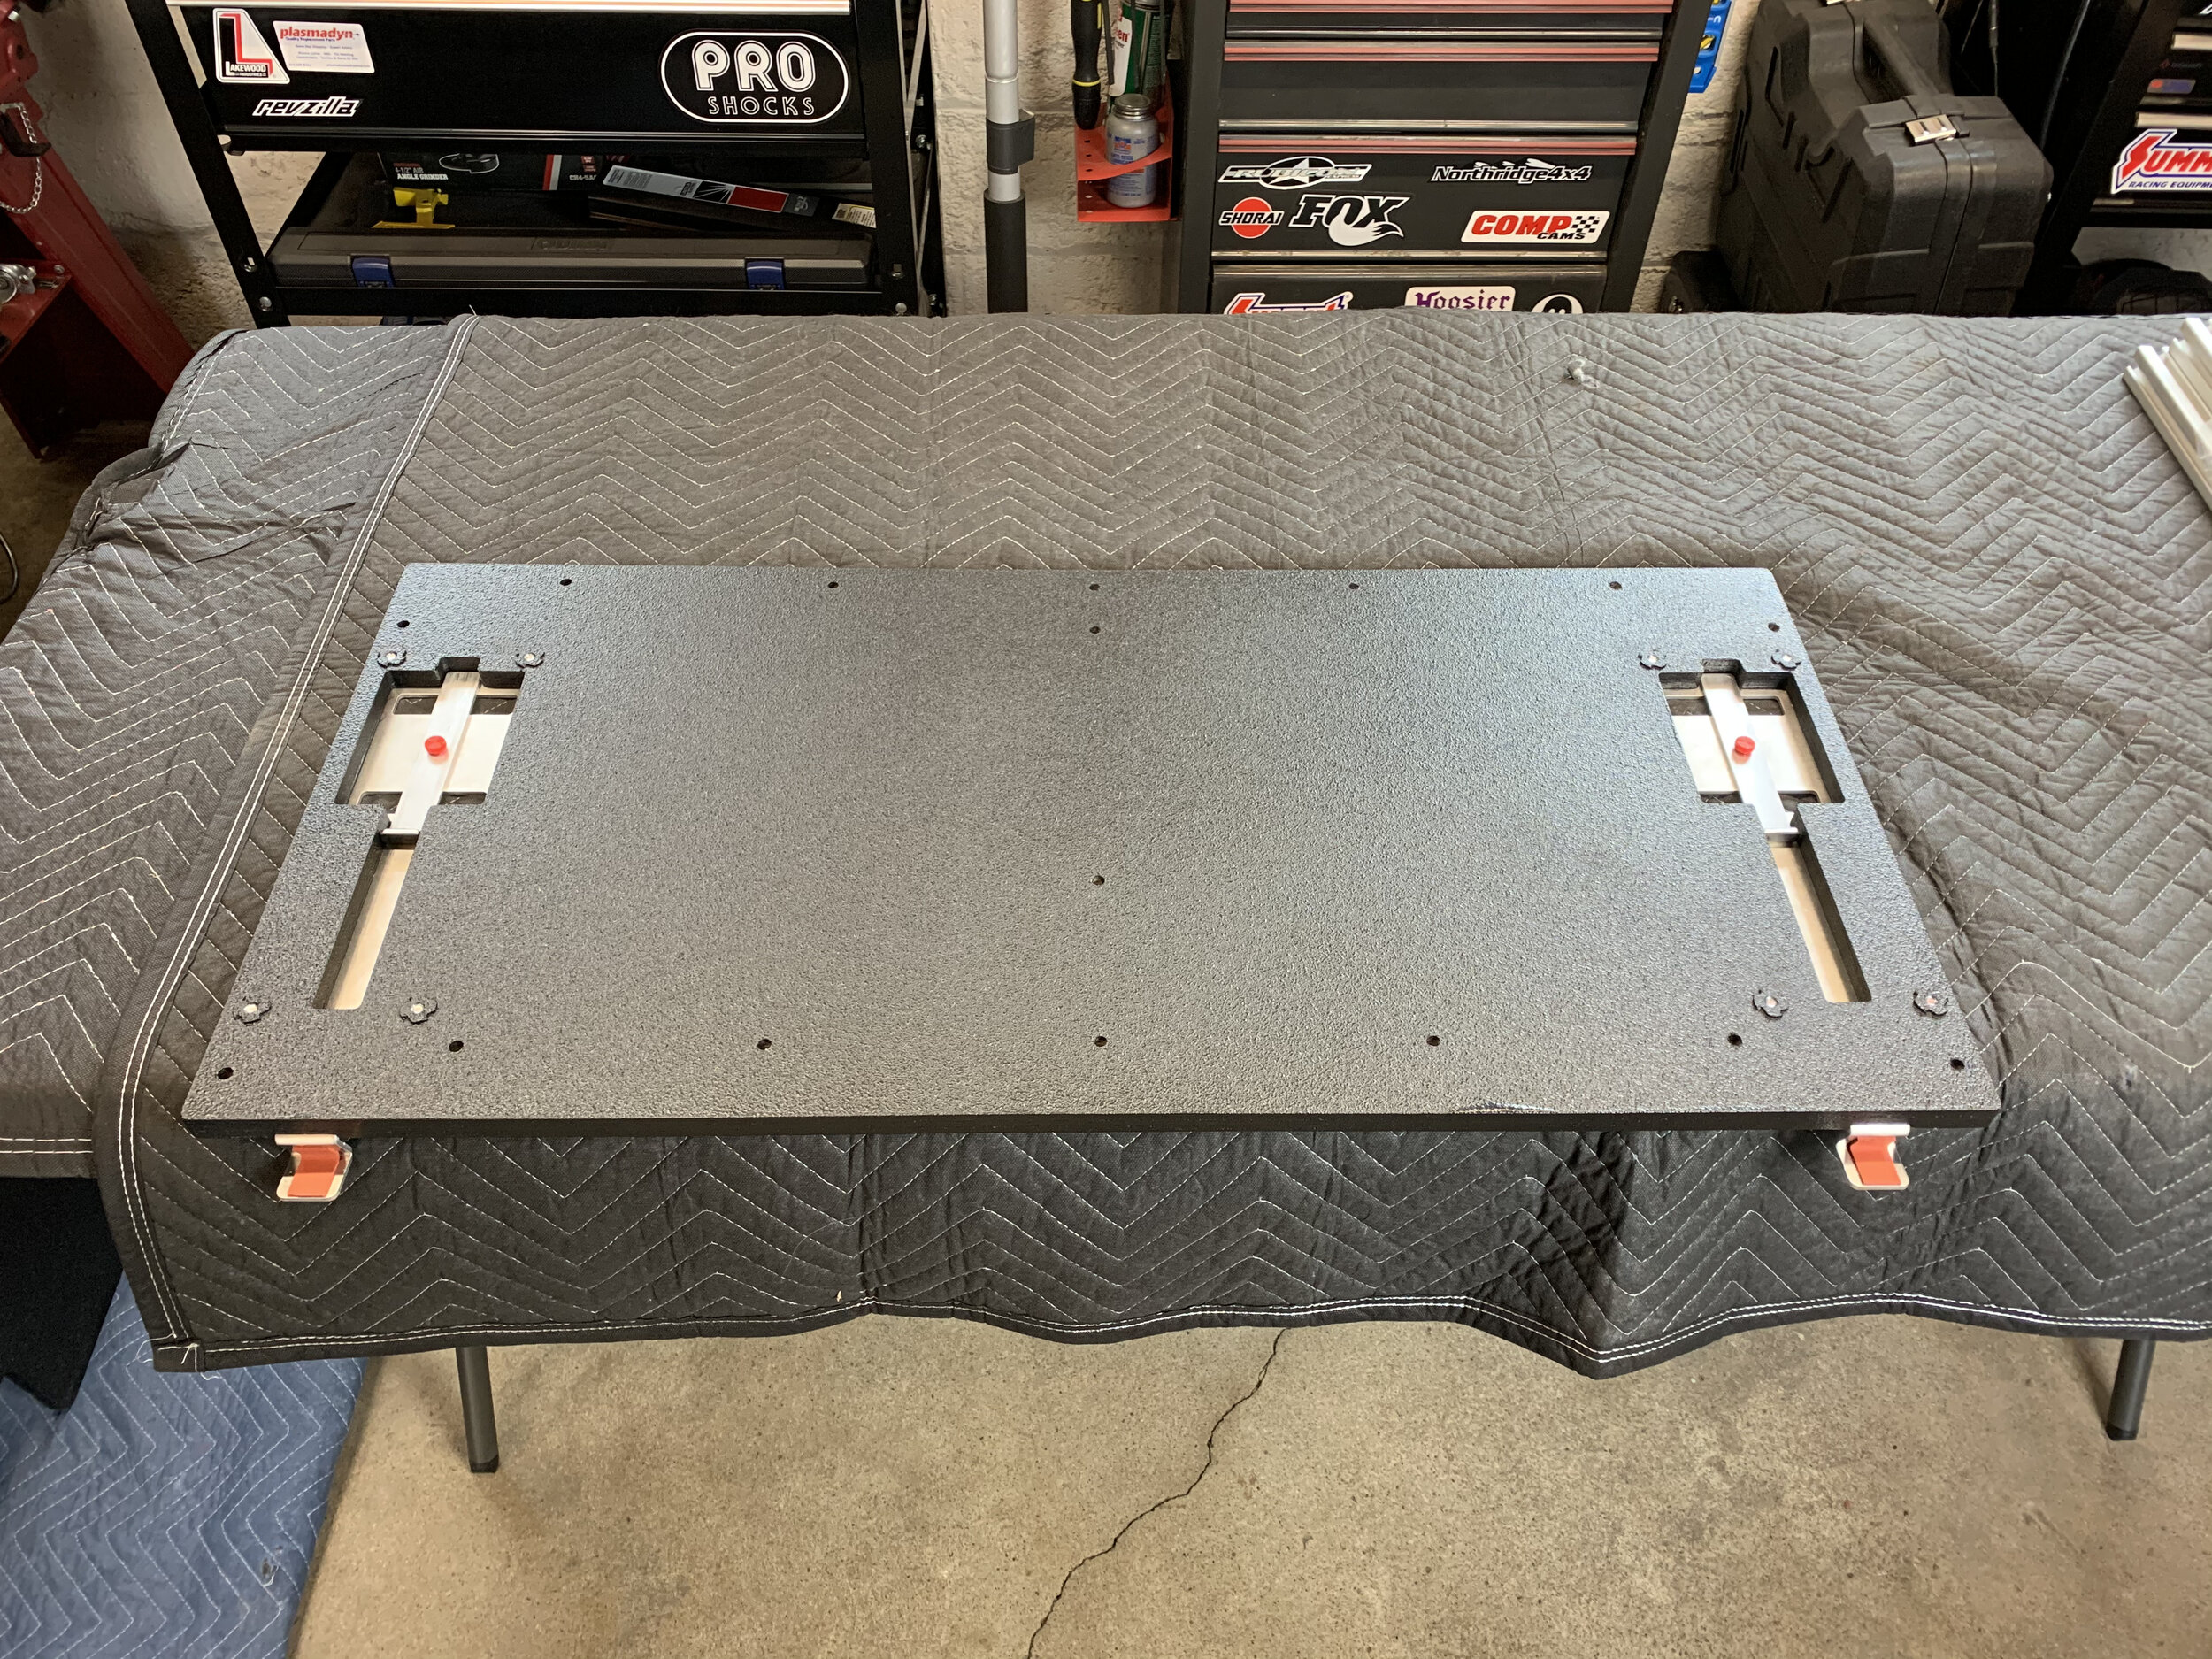
Step 1 - Lay a blanket or padding down and remove all fasteners from the top plate.
Lay Deck down with the top plate facing up.
Use a raised surface or table so that the rear hooks can hang off of the edge and allow Deck to lay flat.
Remove all 16 fasteners with a 4mm allen key or socket and set the top plate and fasteners aside.

Step 2 - Prepare for Installation.
Remove back seat and any gear you have in the back of your Jeep. It’s best to work with a clean slate.
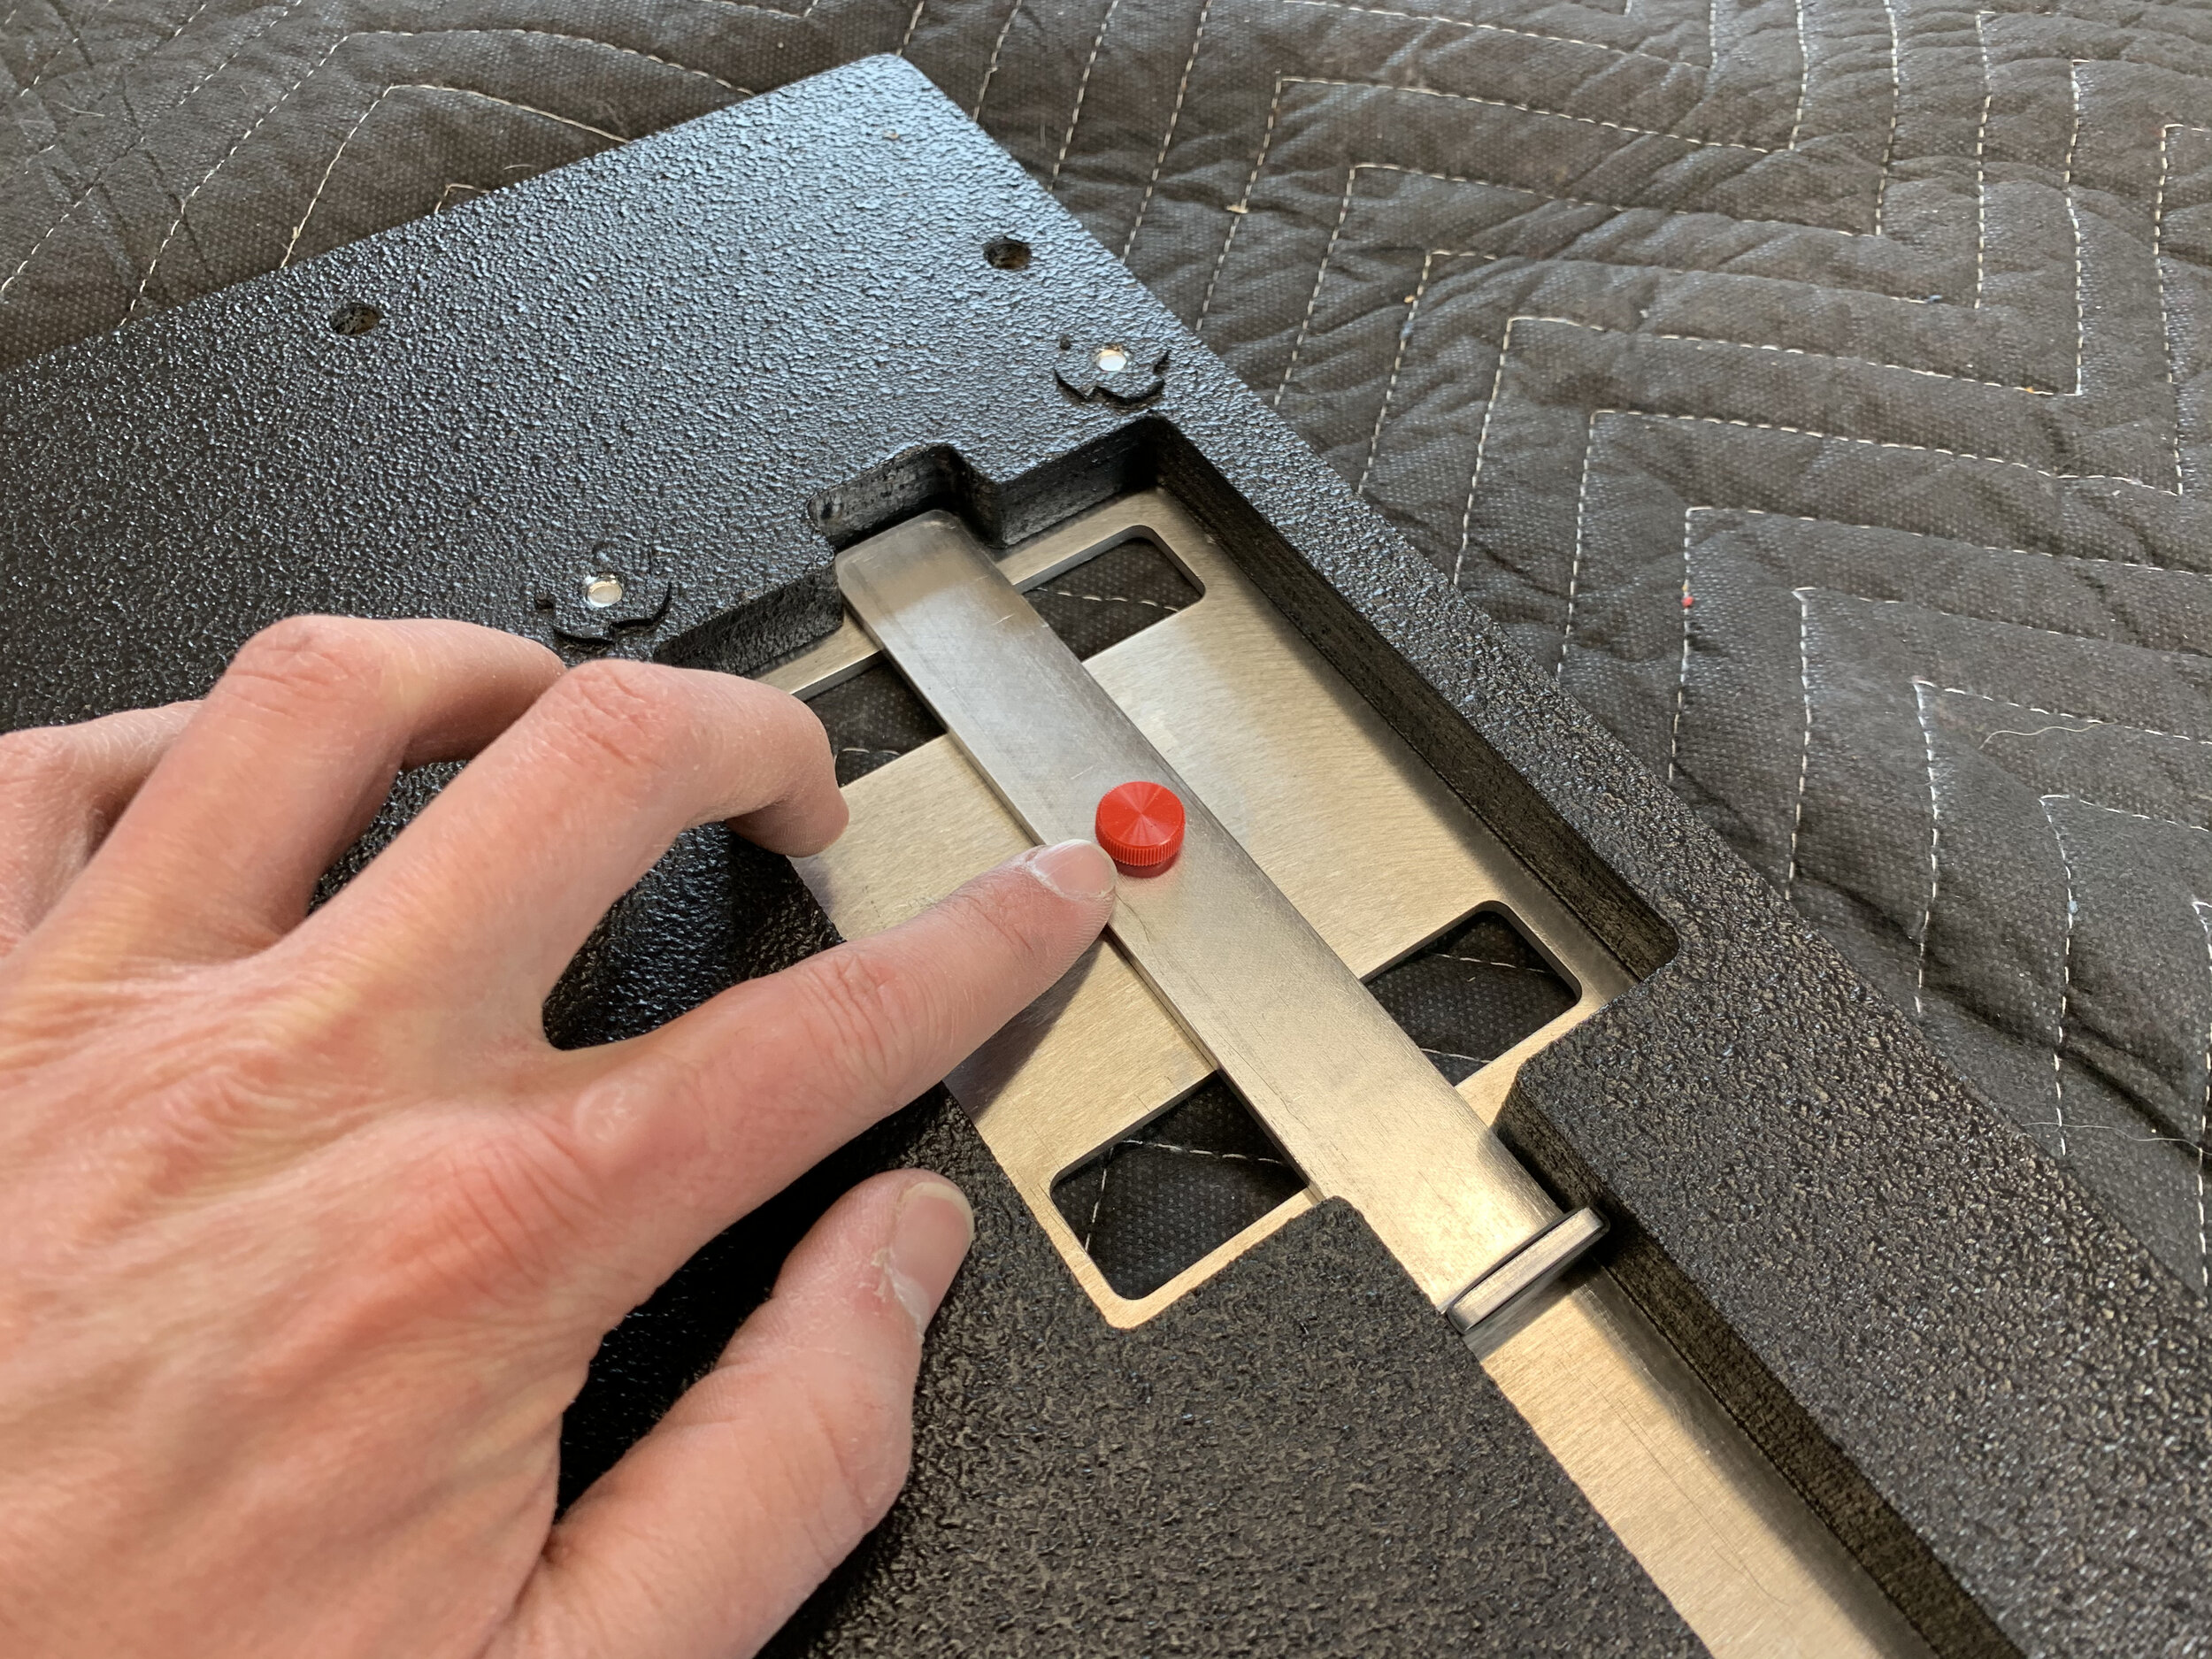
Loosen and remove the red thumb screws from the mounting points on both sides of the Deck base.
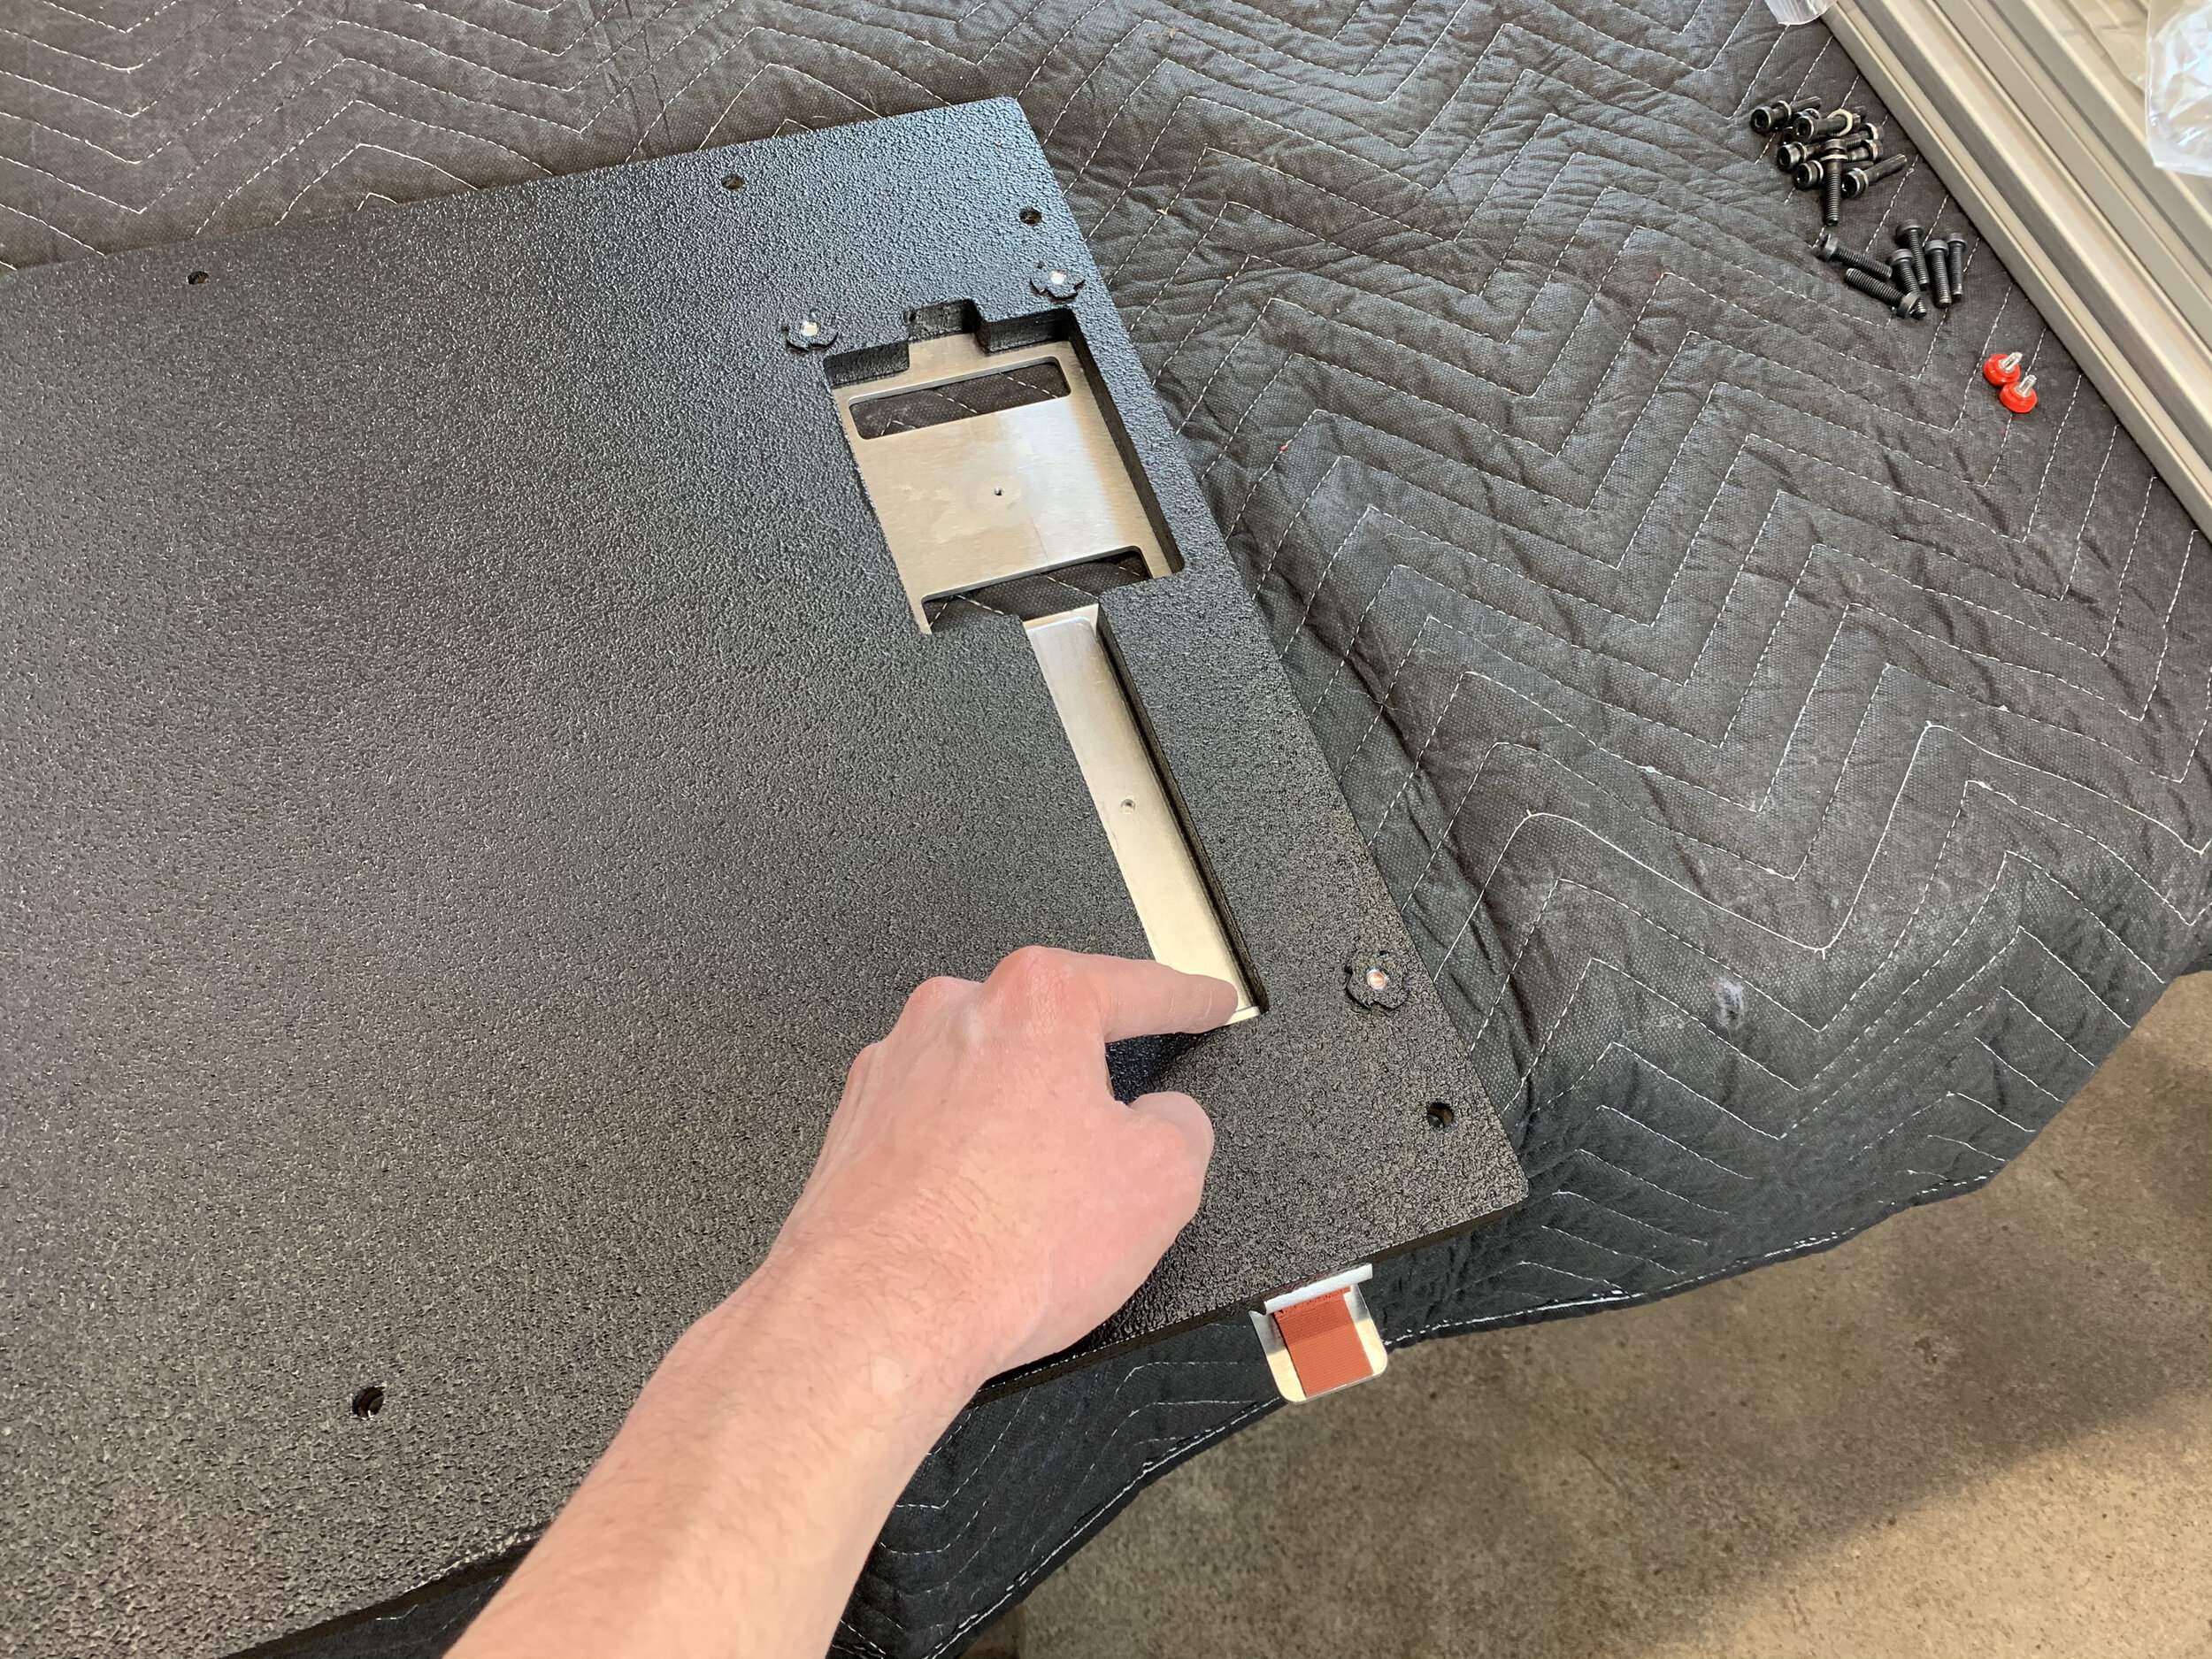
Slide the two locking tabs to the back of the Deck Base.
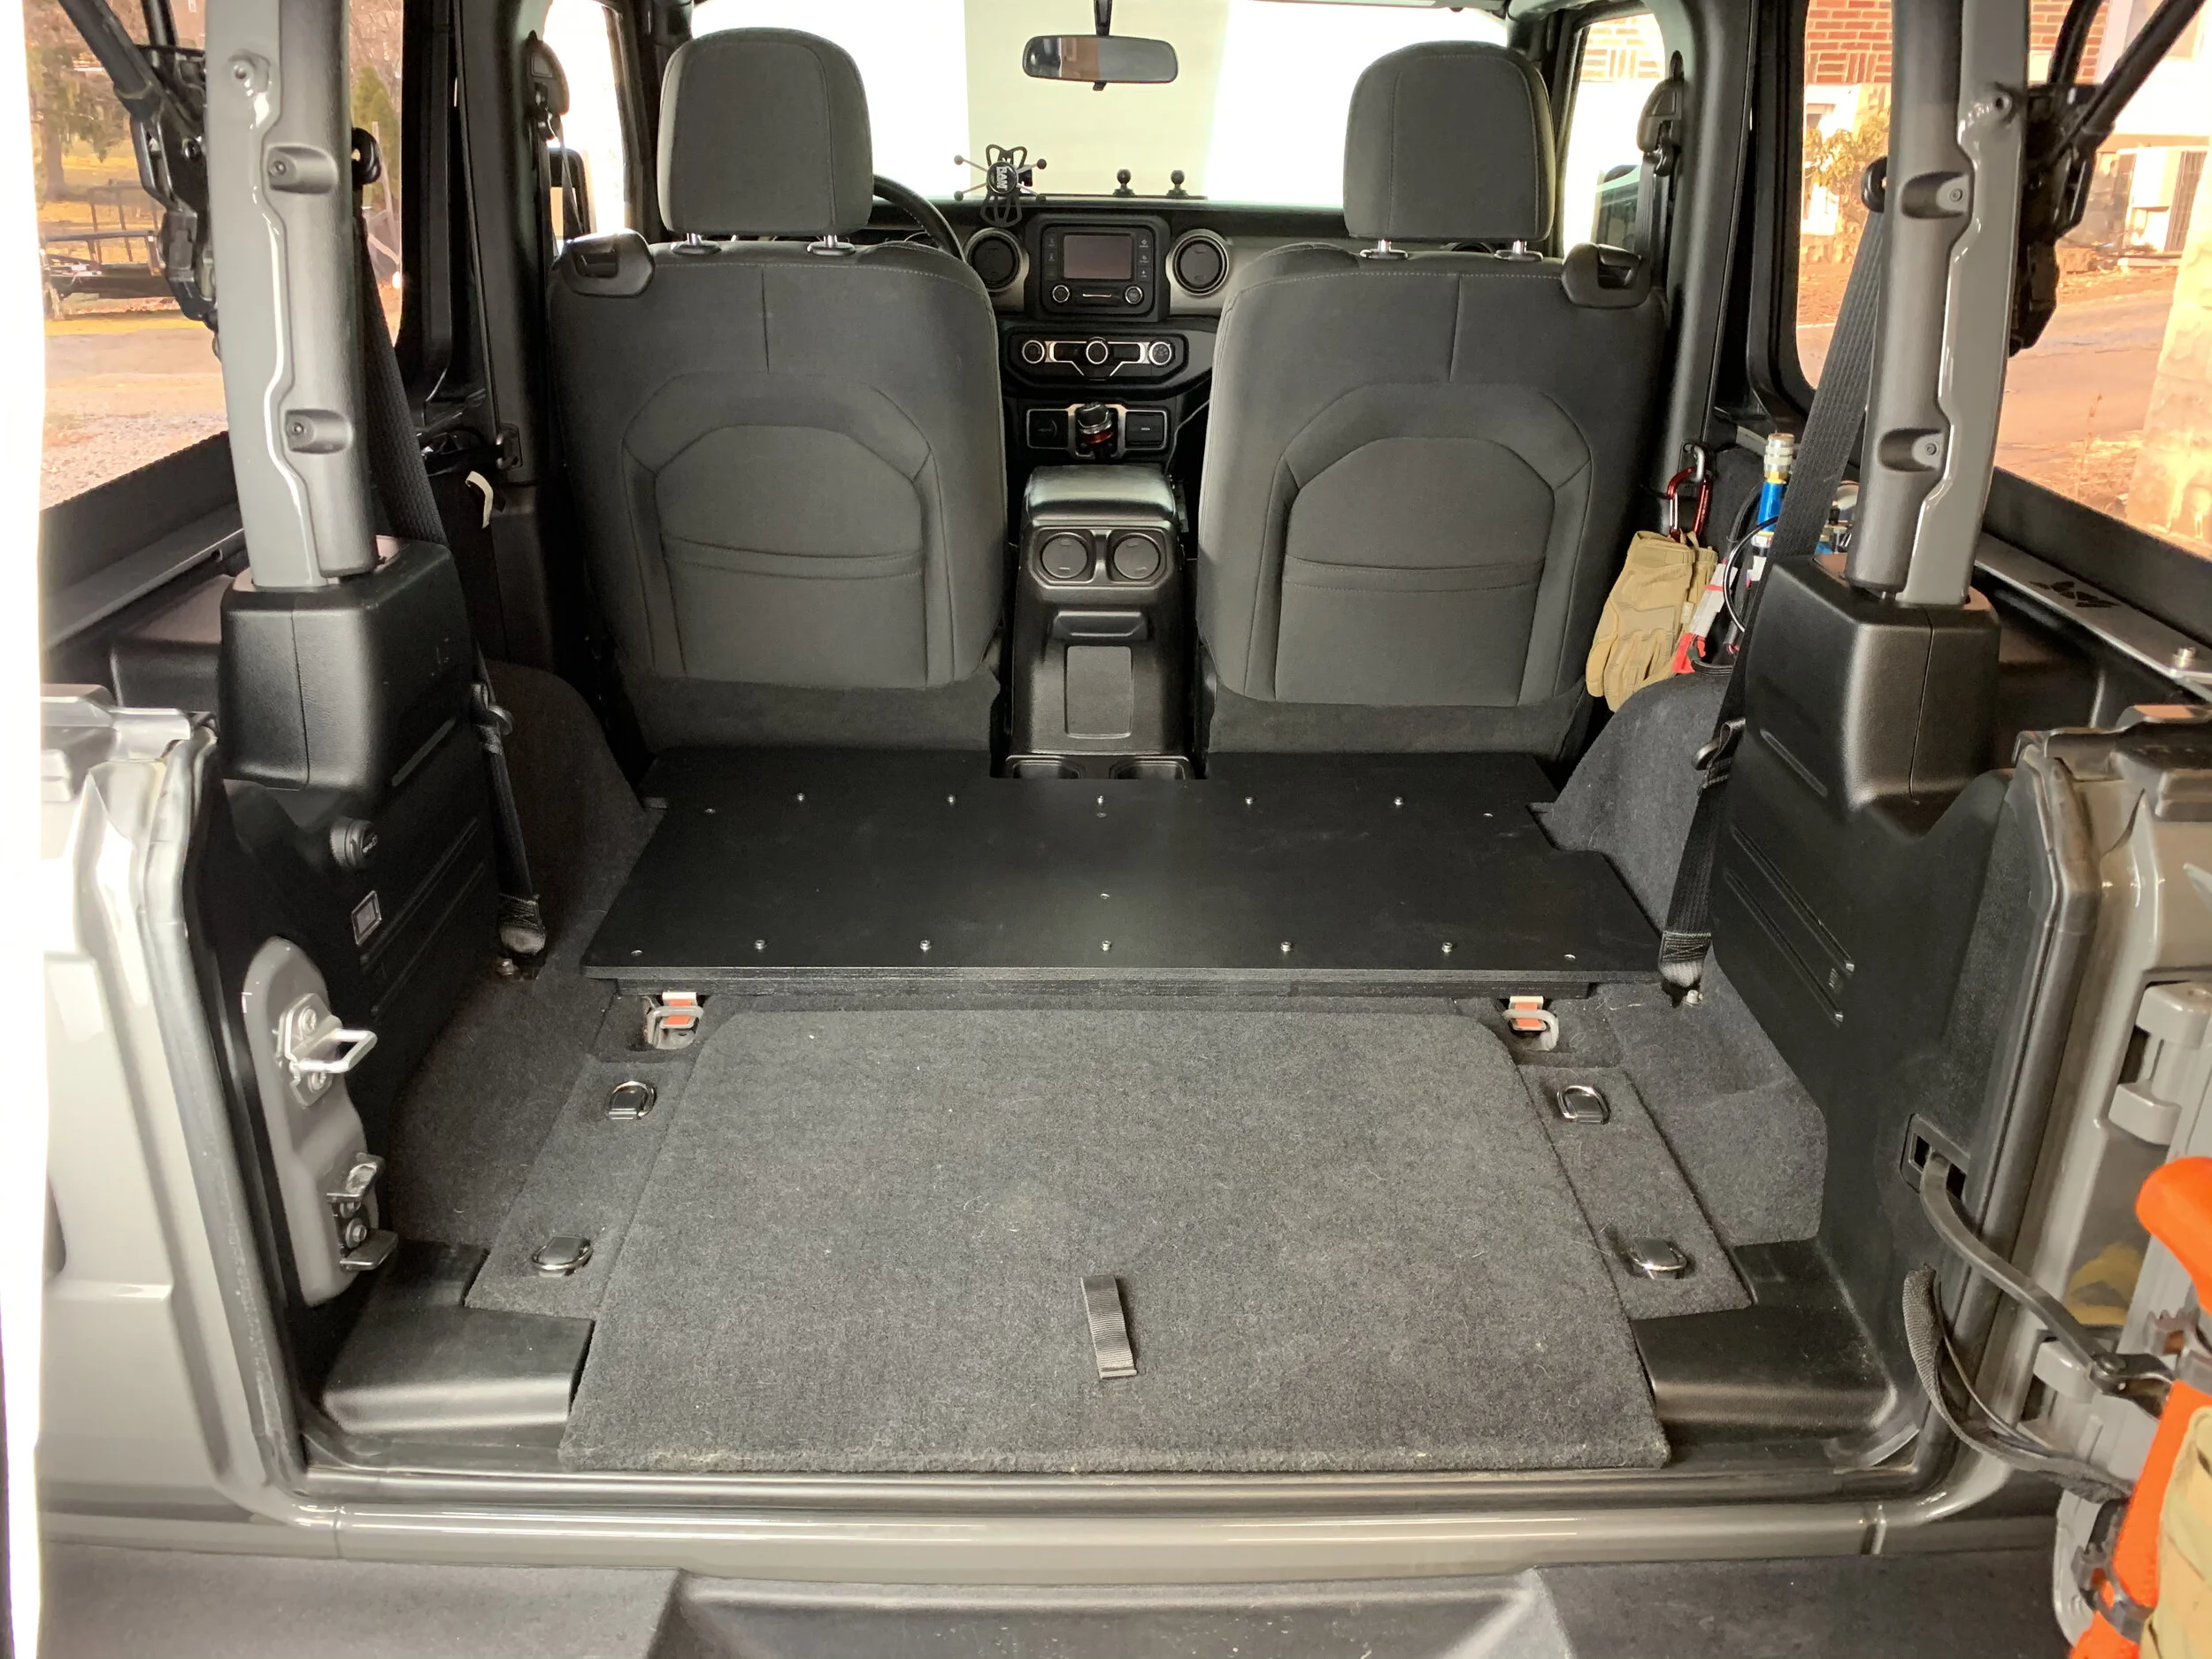
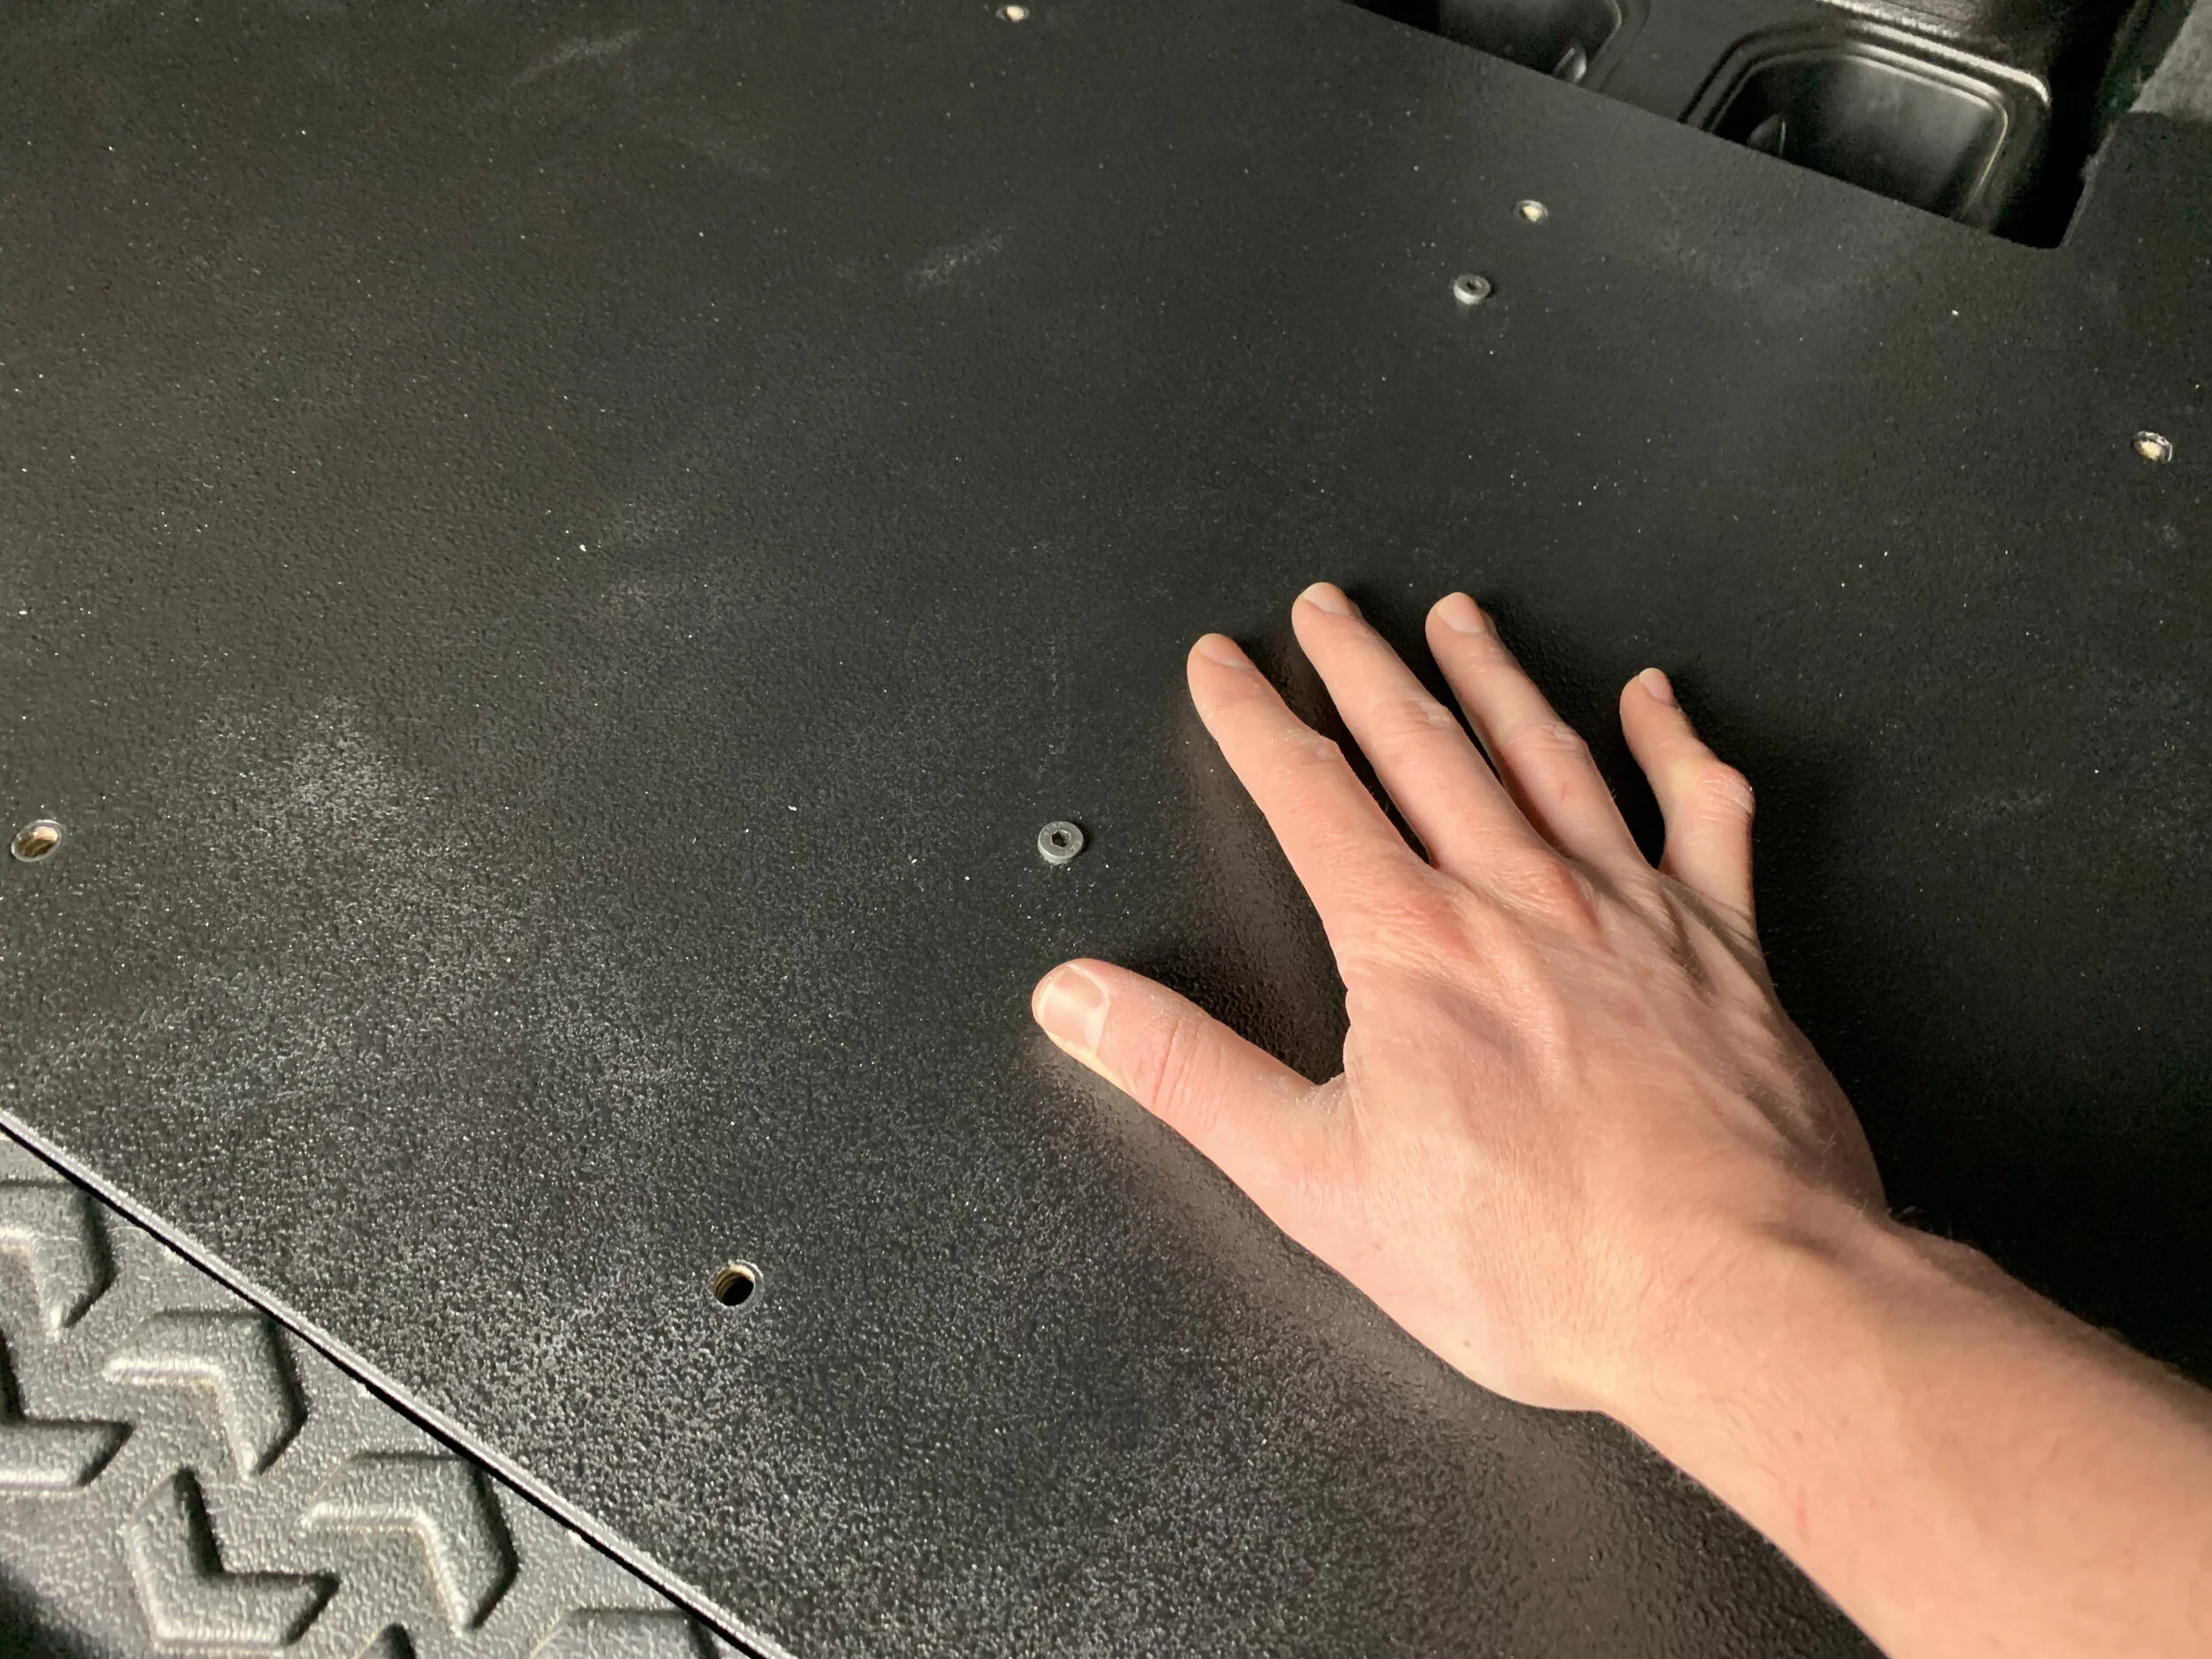
Step 3 - Install Deck Base.
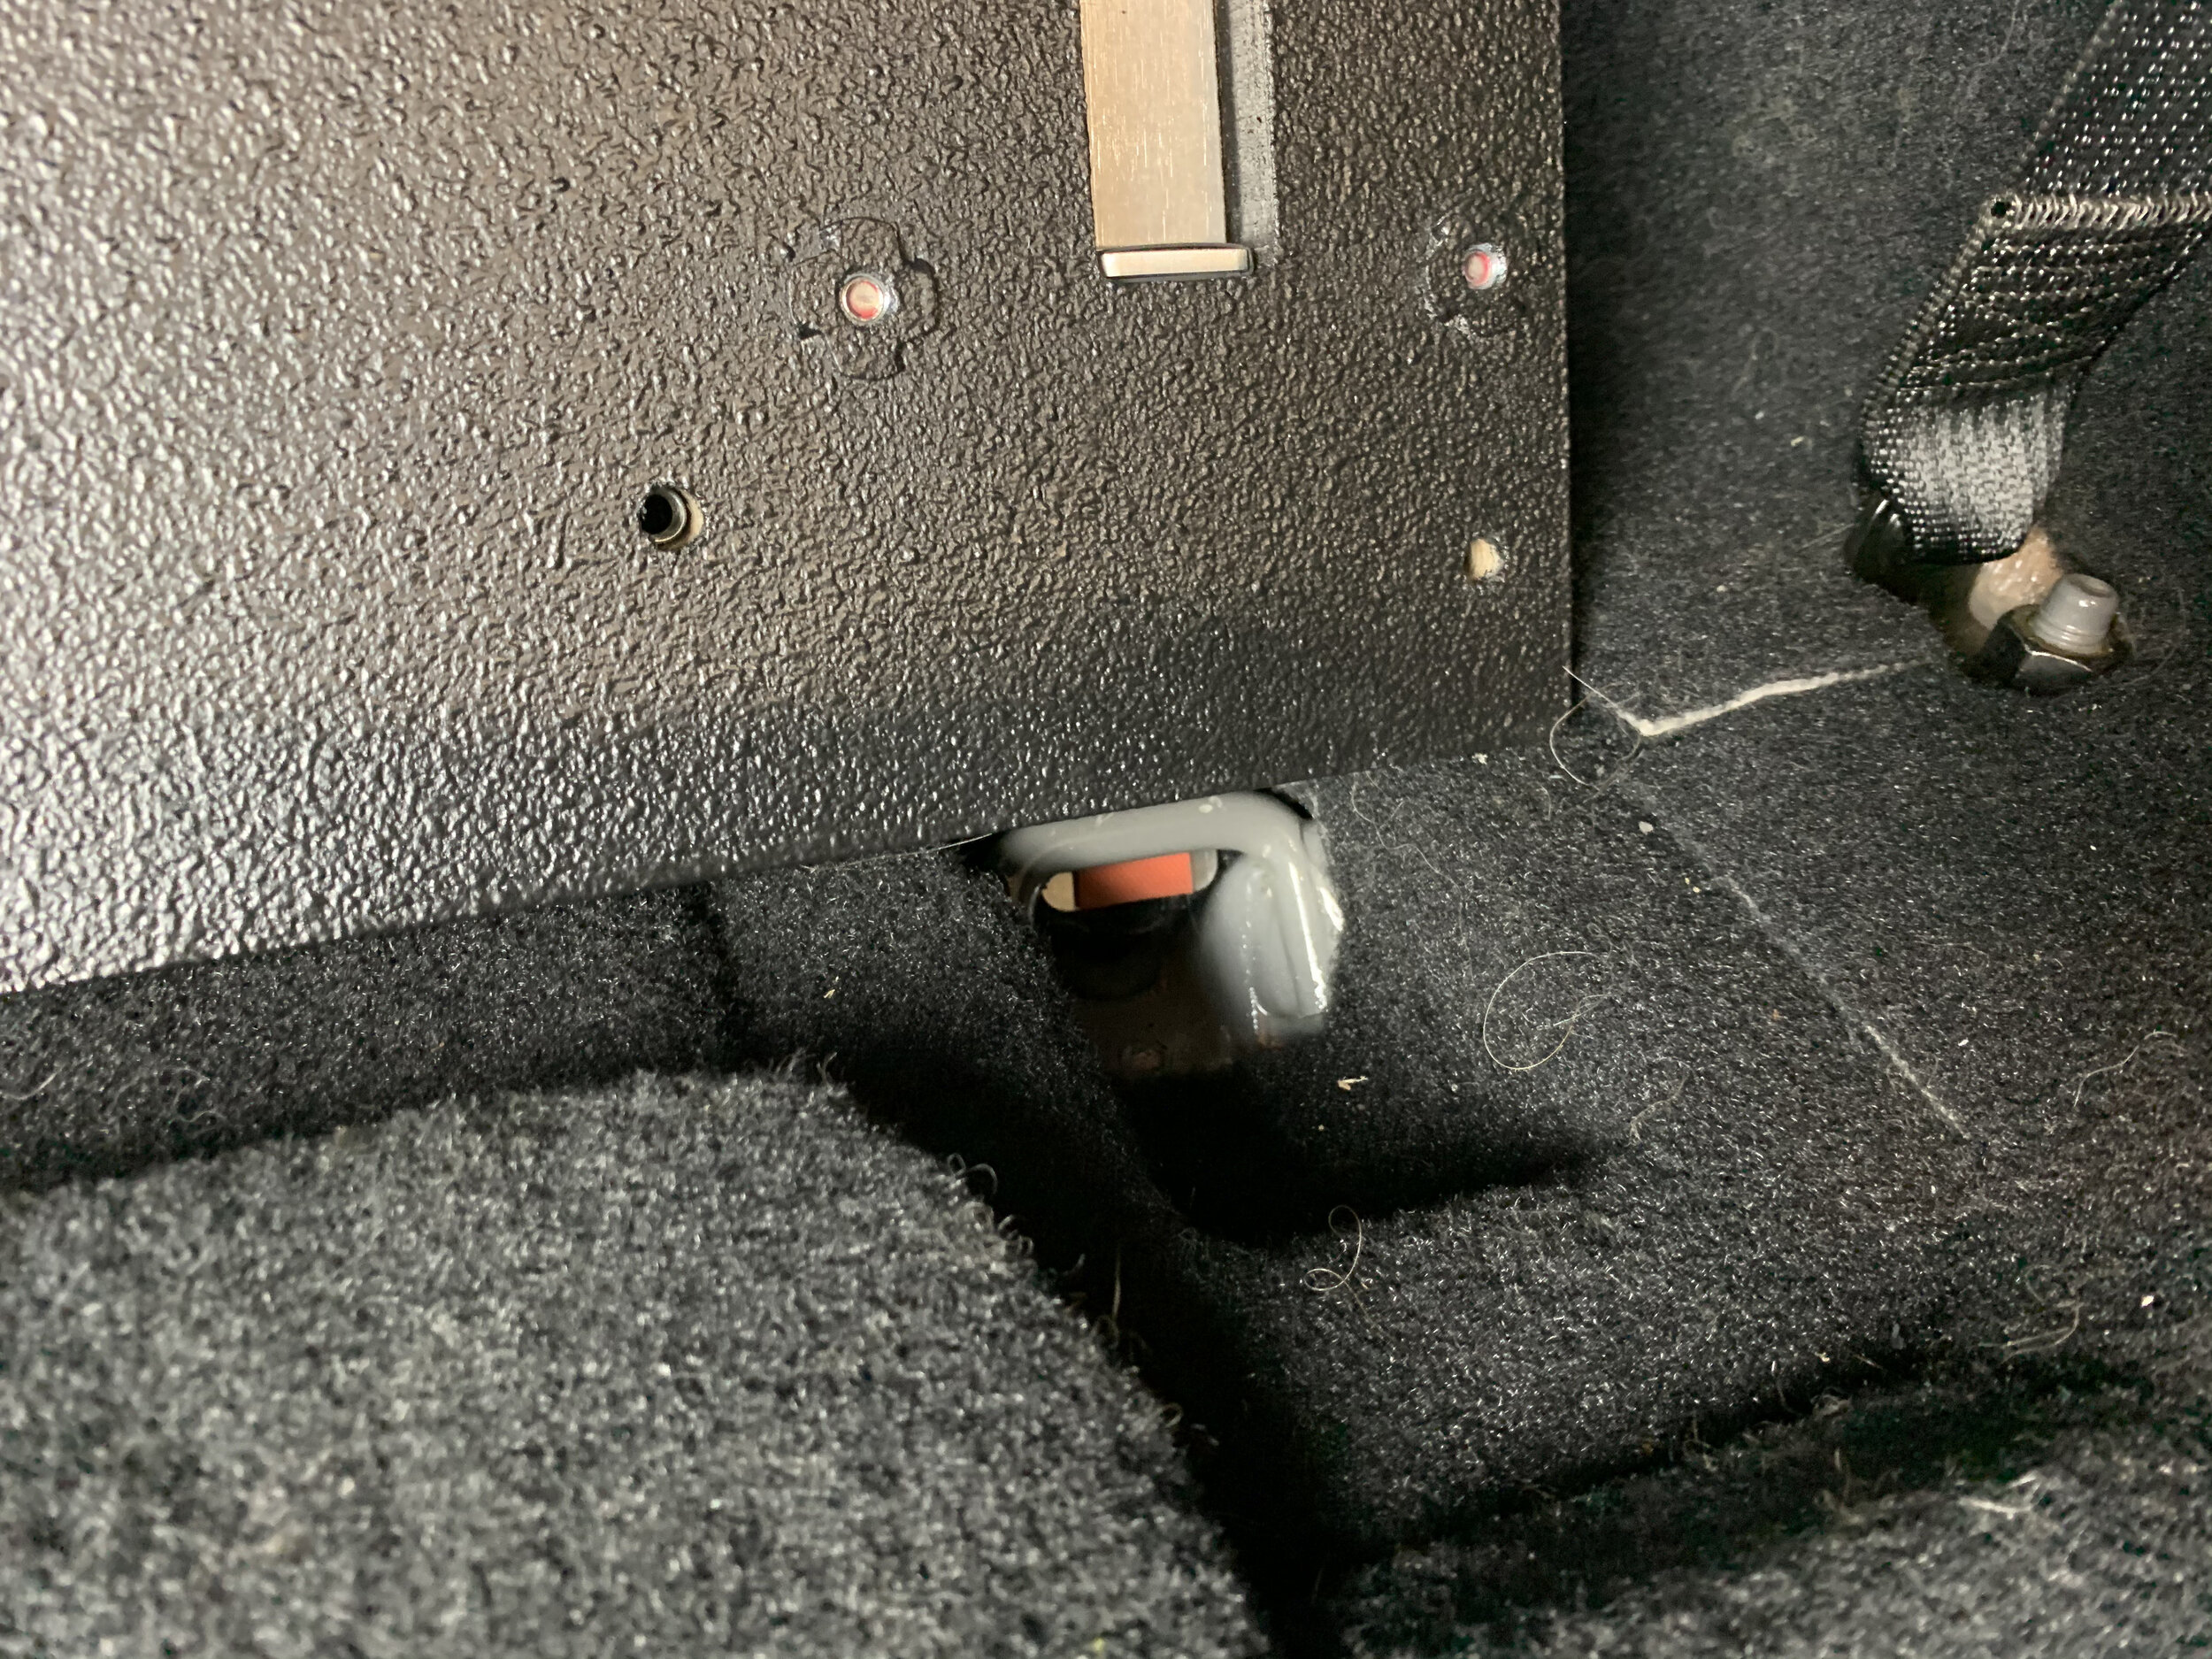
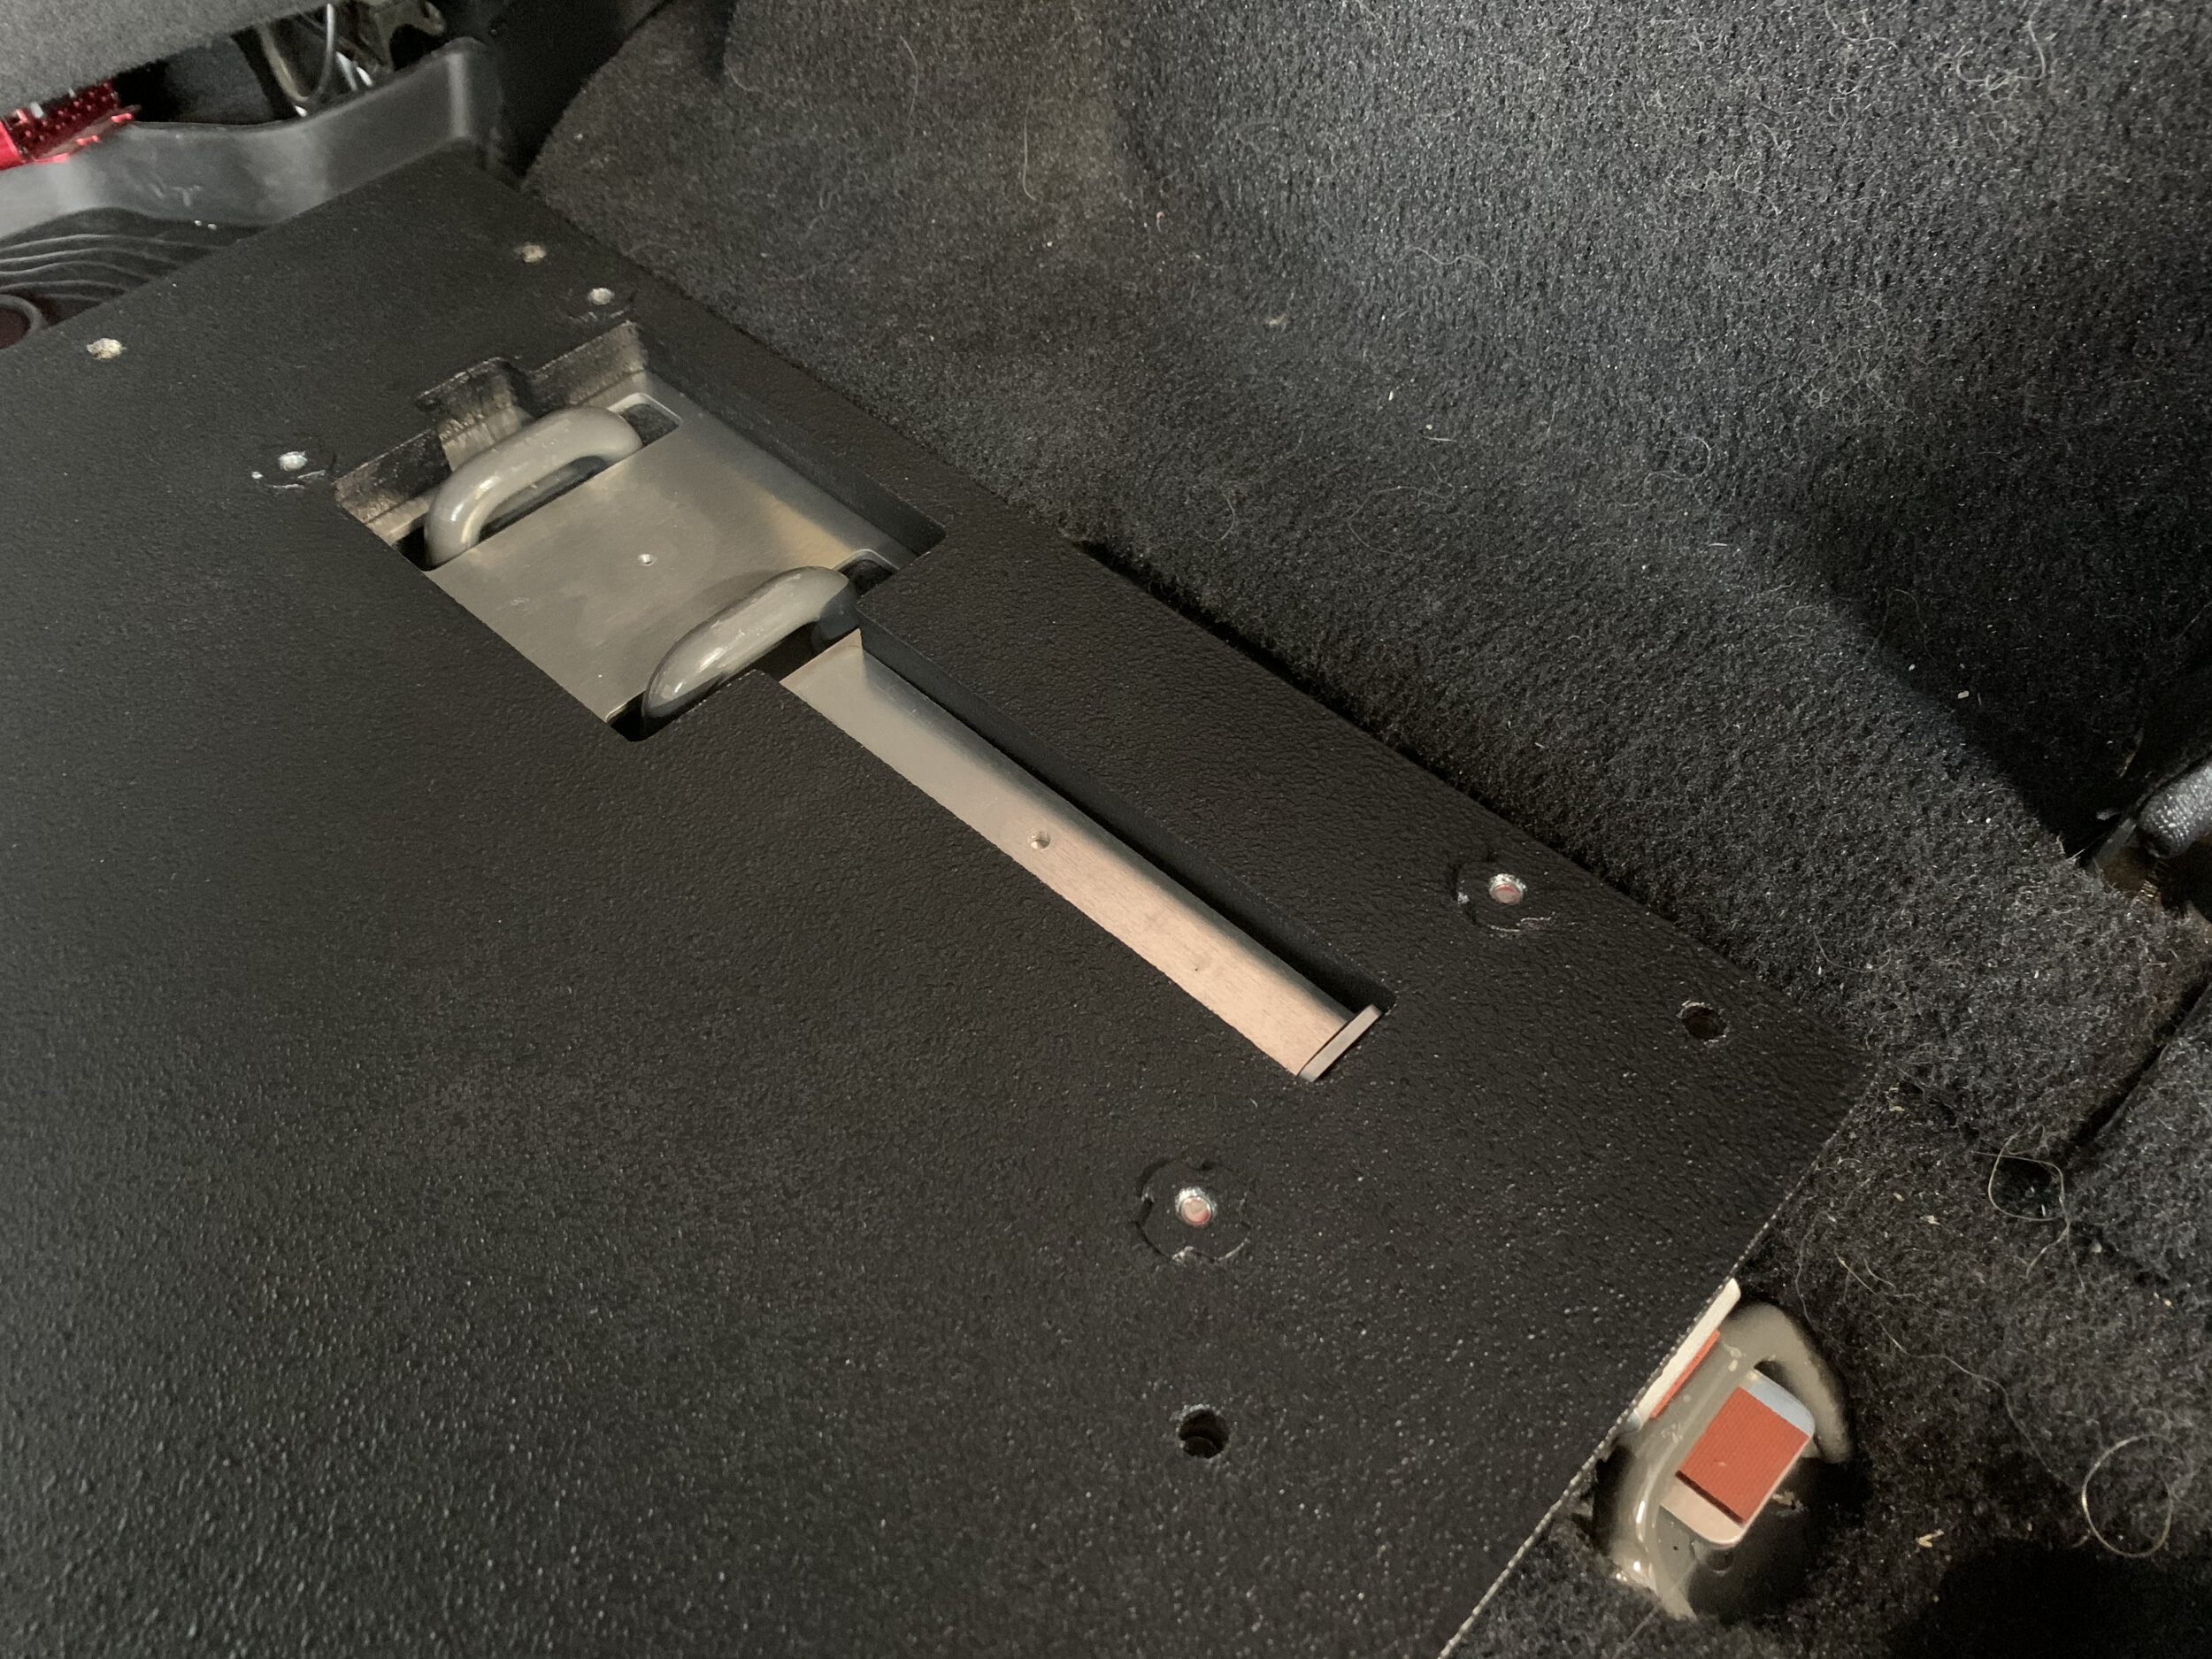
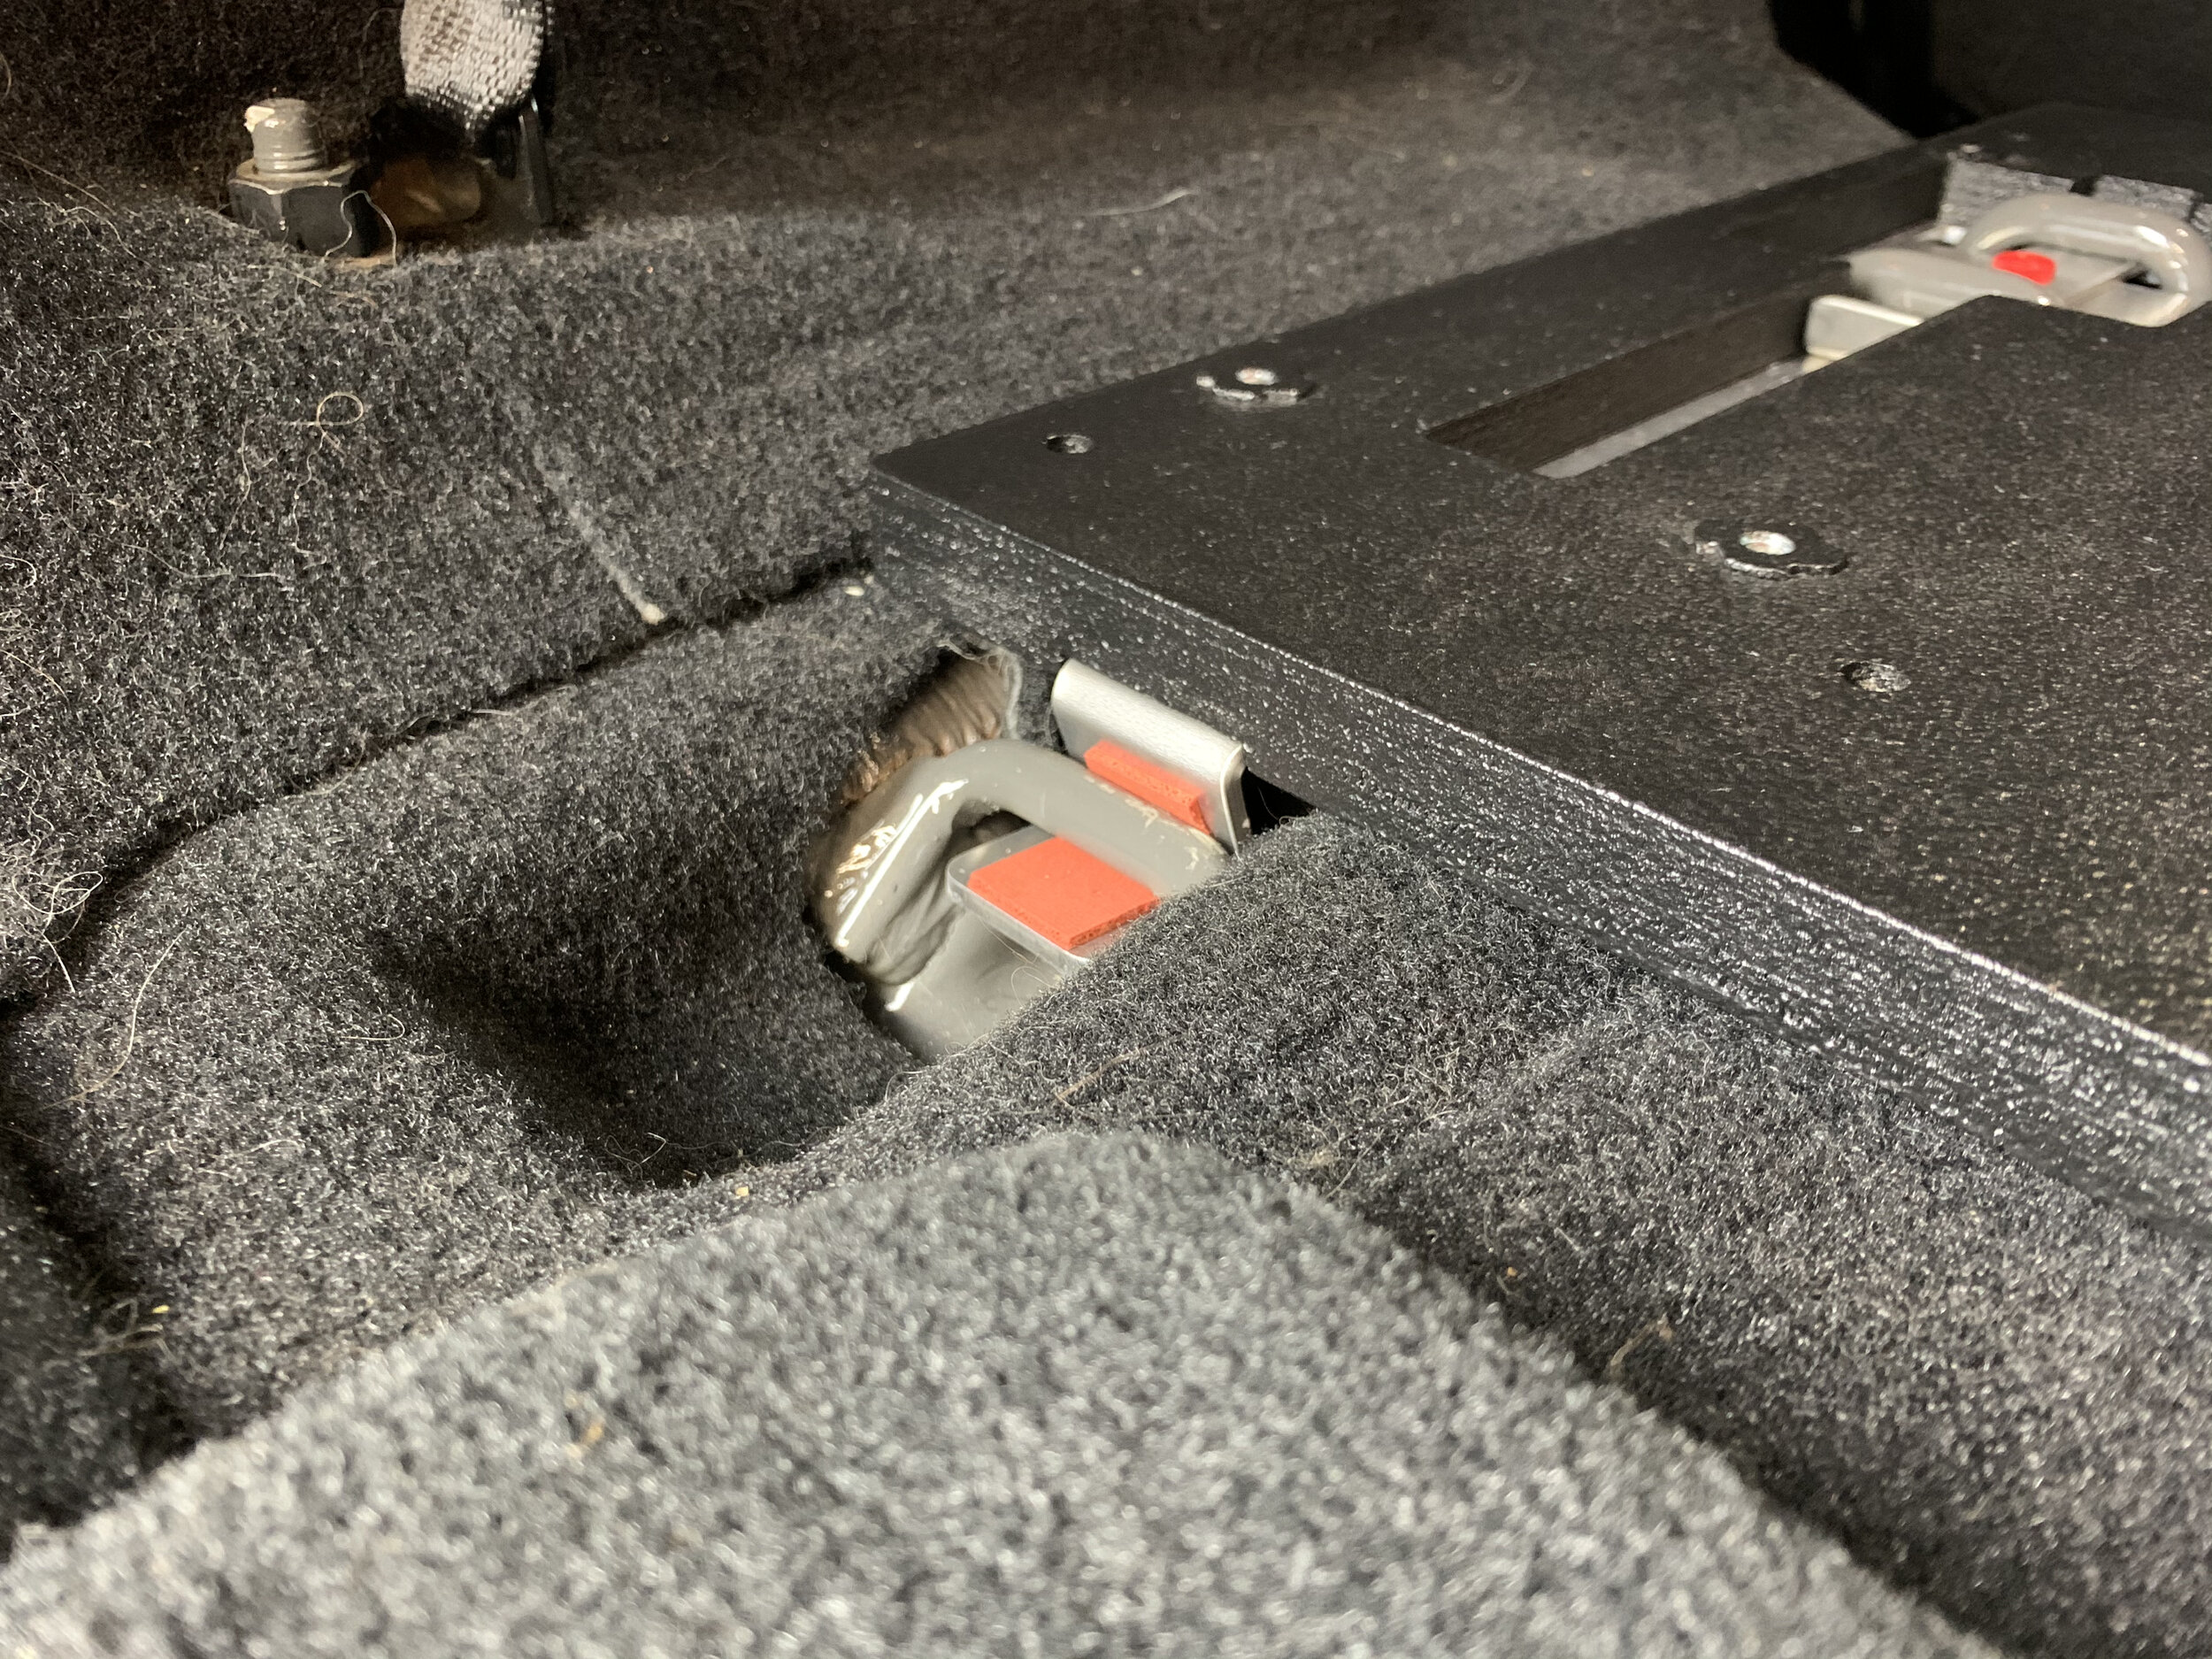
Install the deck base by placing the rear hooks into the rear mounting loops for the back seat.
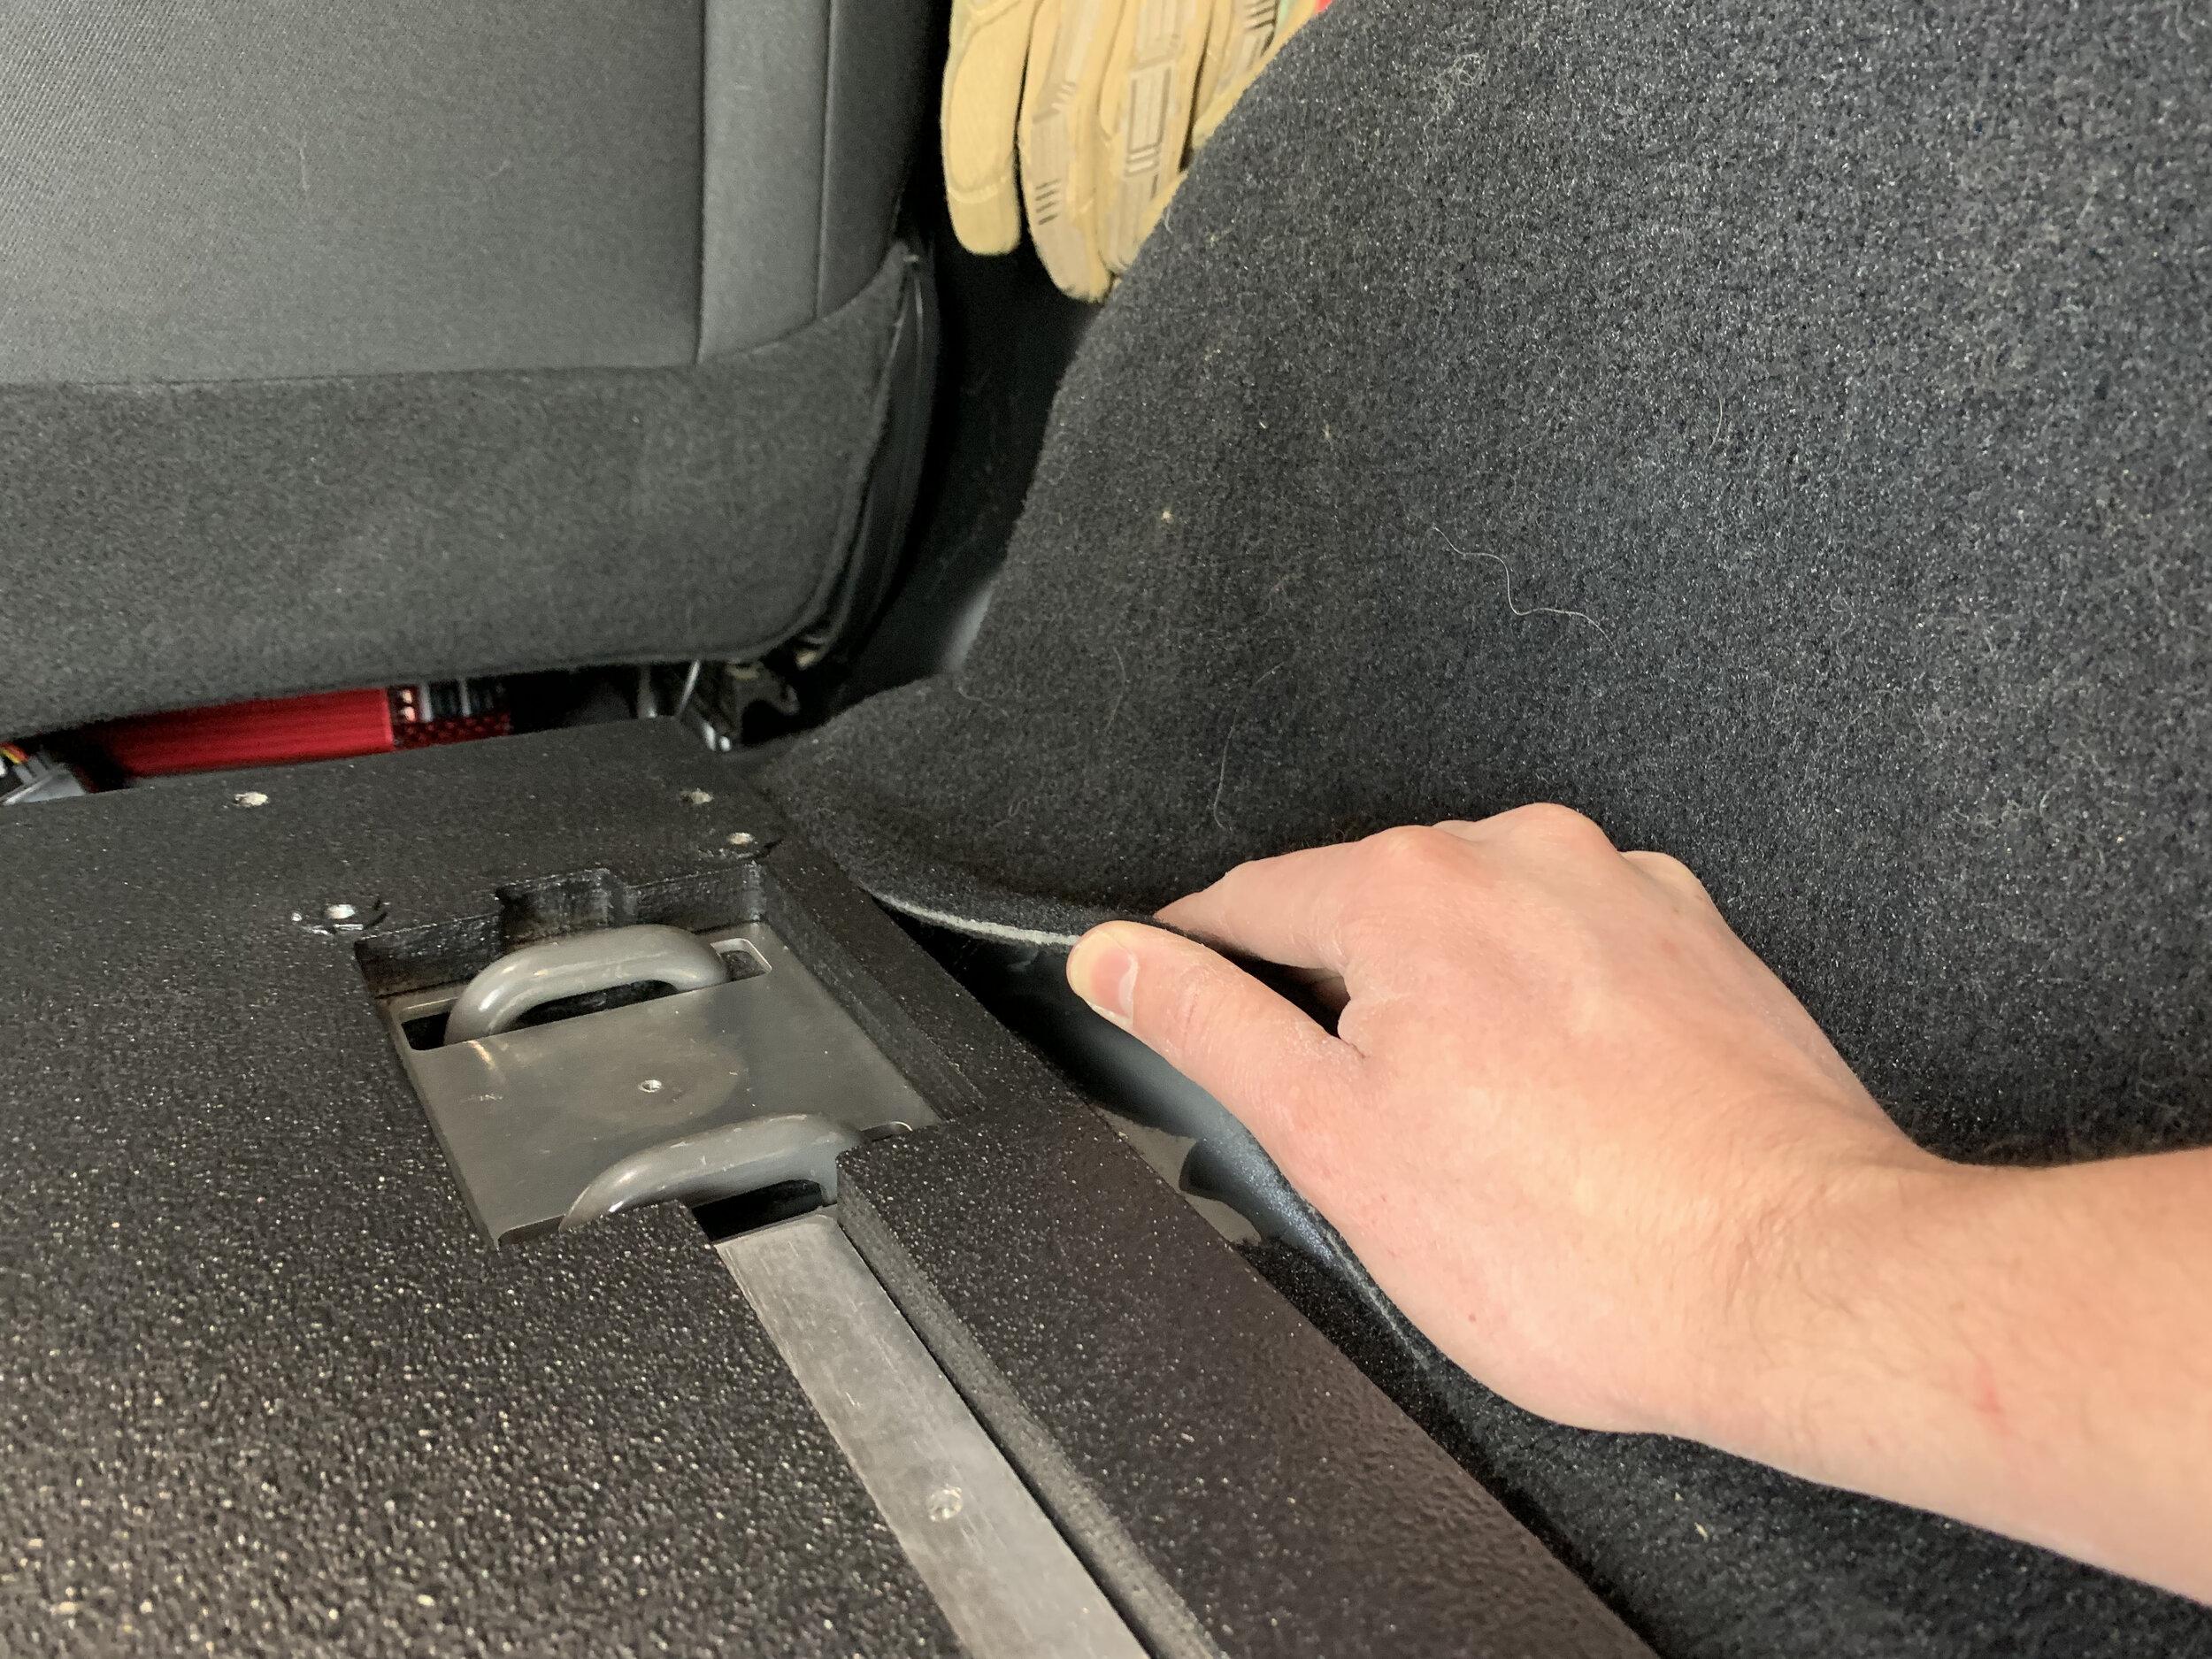
Lay the base down flat, allowing the front mounting loops to come through the mounting plate. BE SURE TO PULL THE WHEEL WELL CARPET SECTIONS OUT FROM UNDER THE BASE. This will ensure everything sits flat and will allow the locking tabs to slide in place easily.
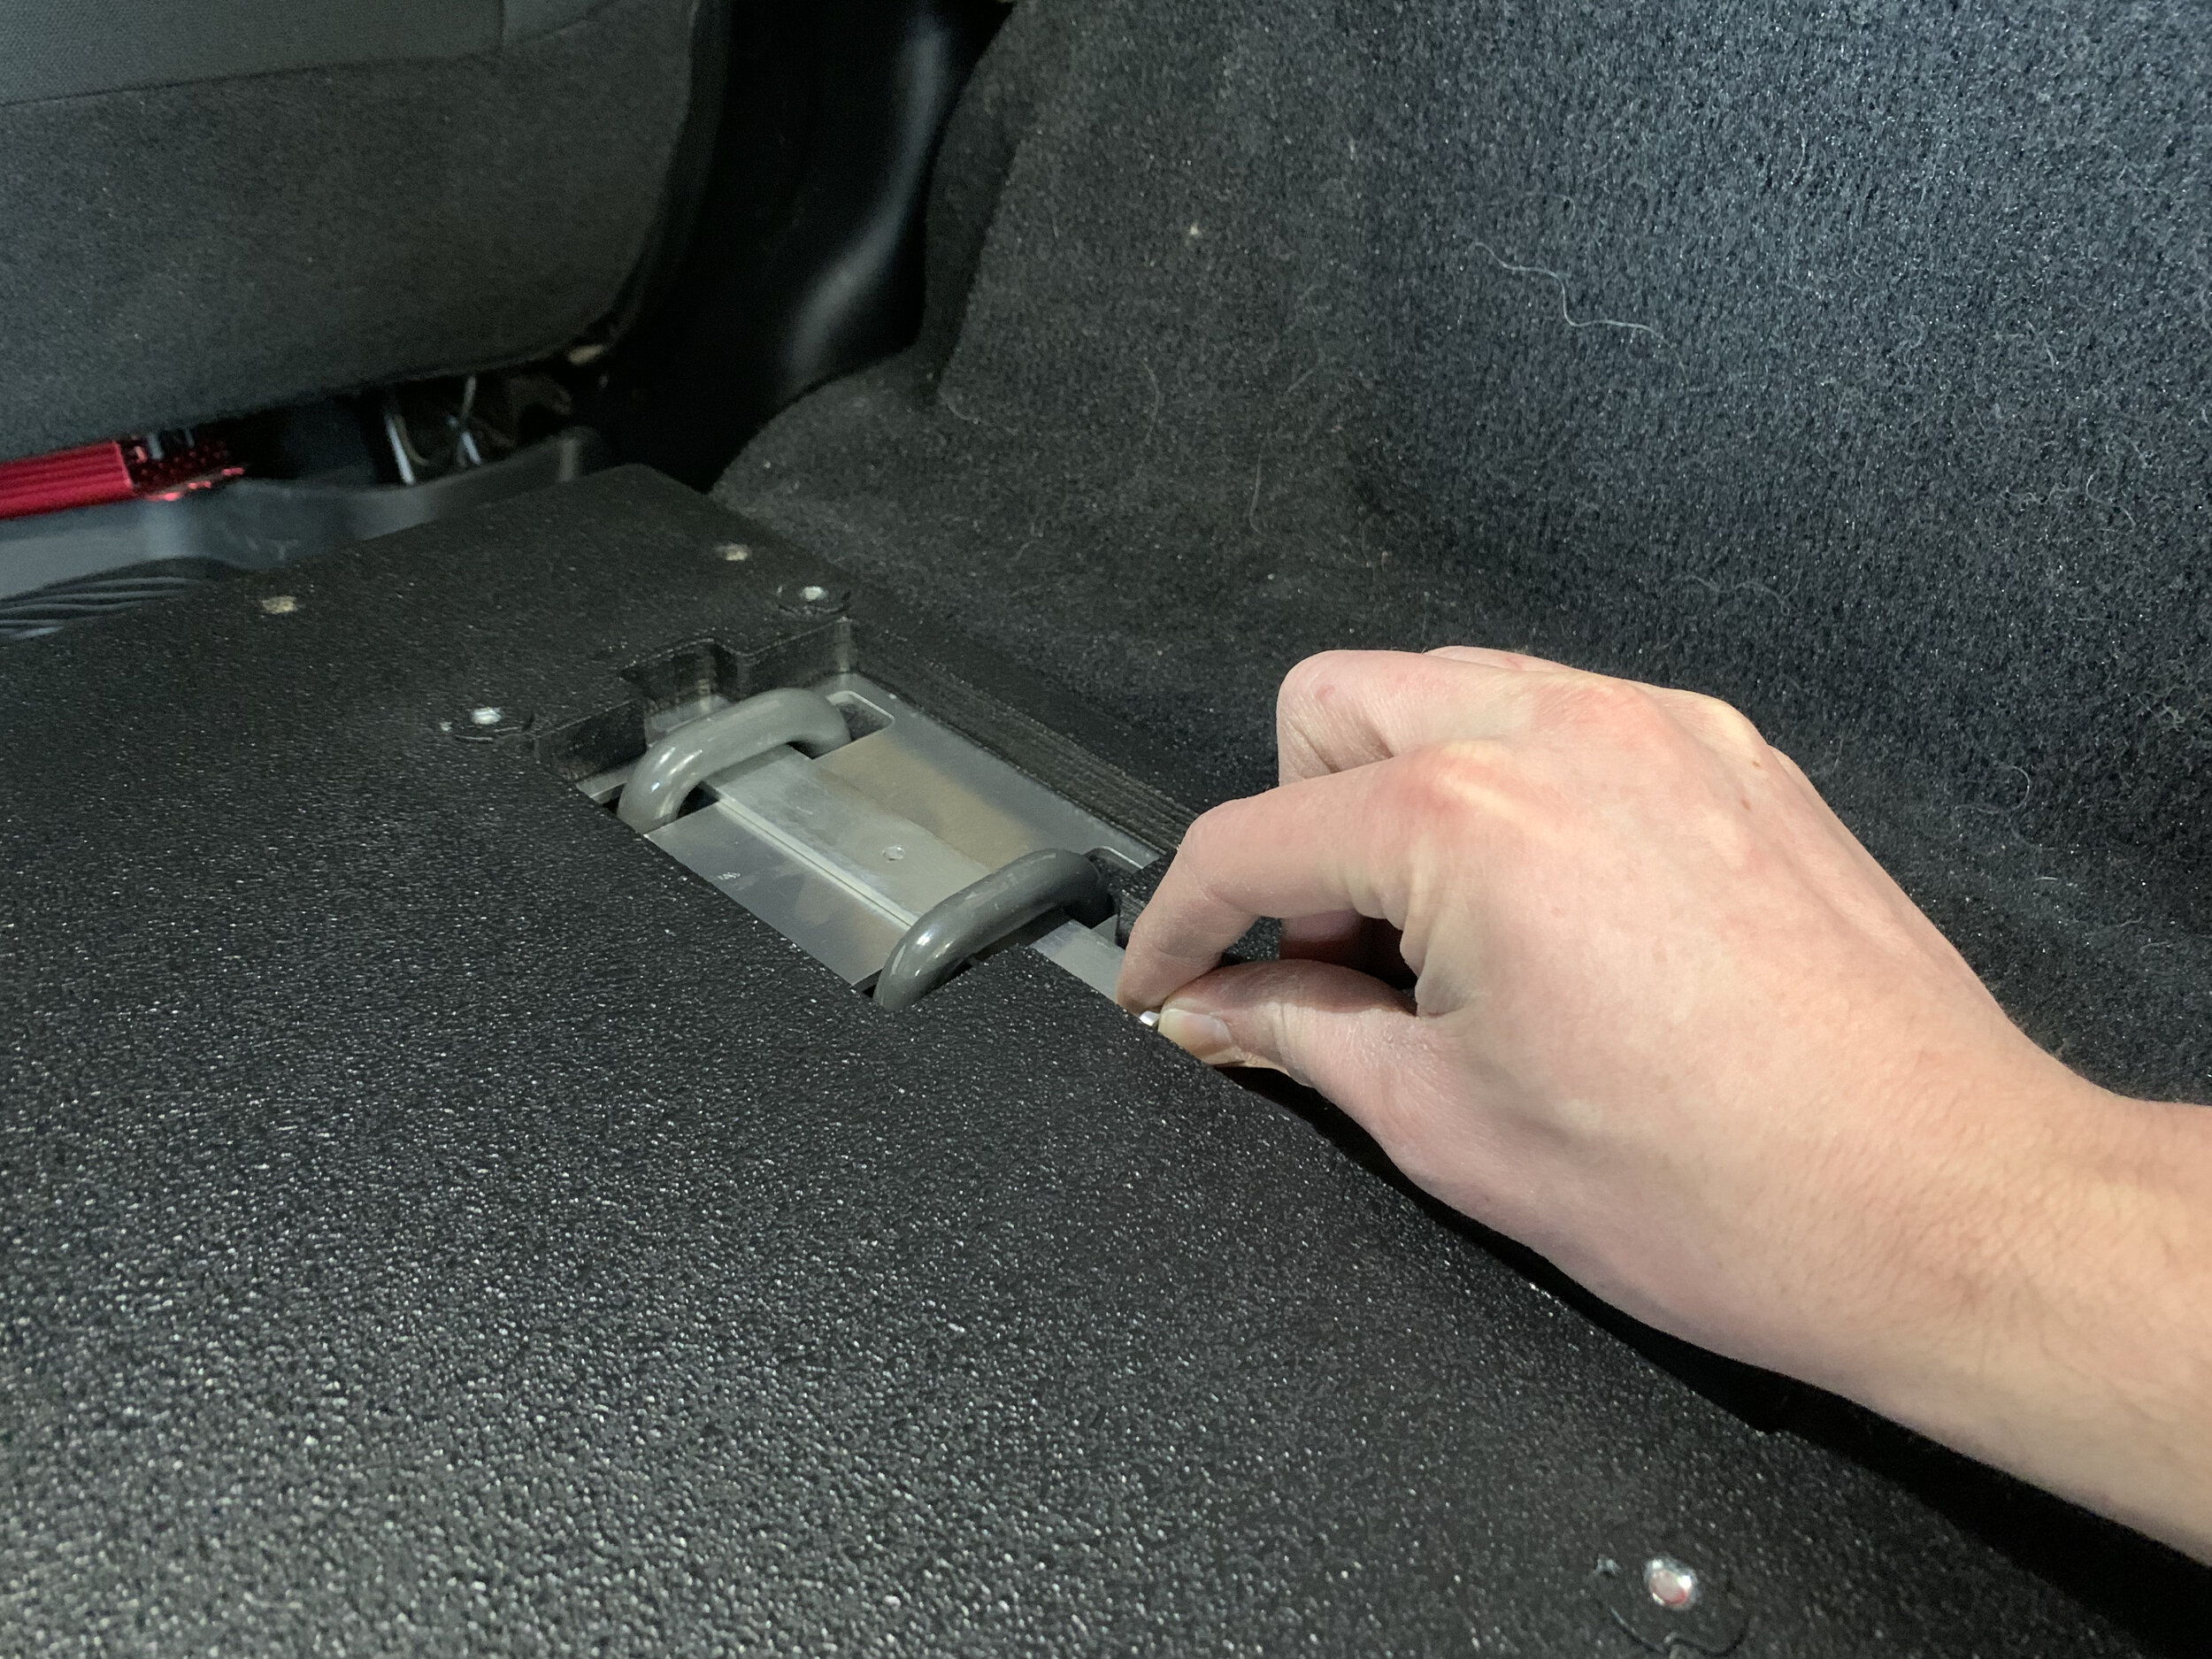
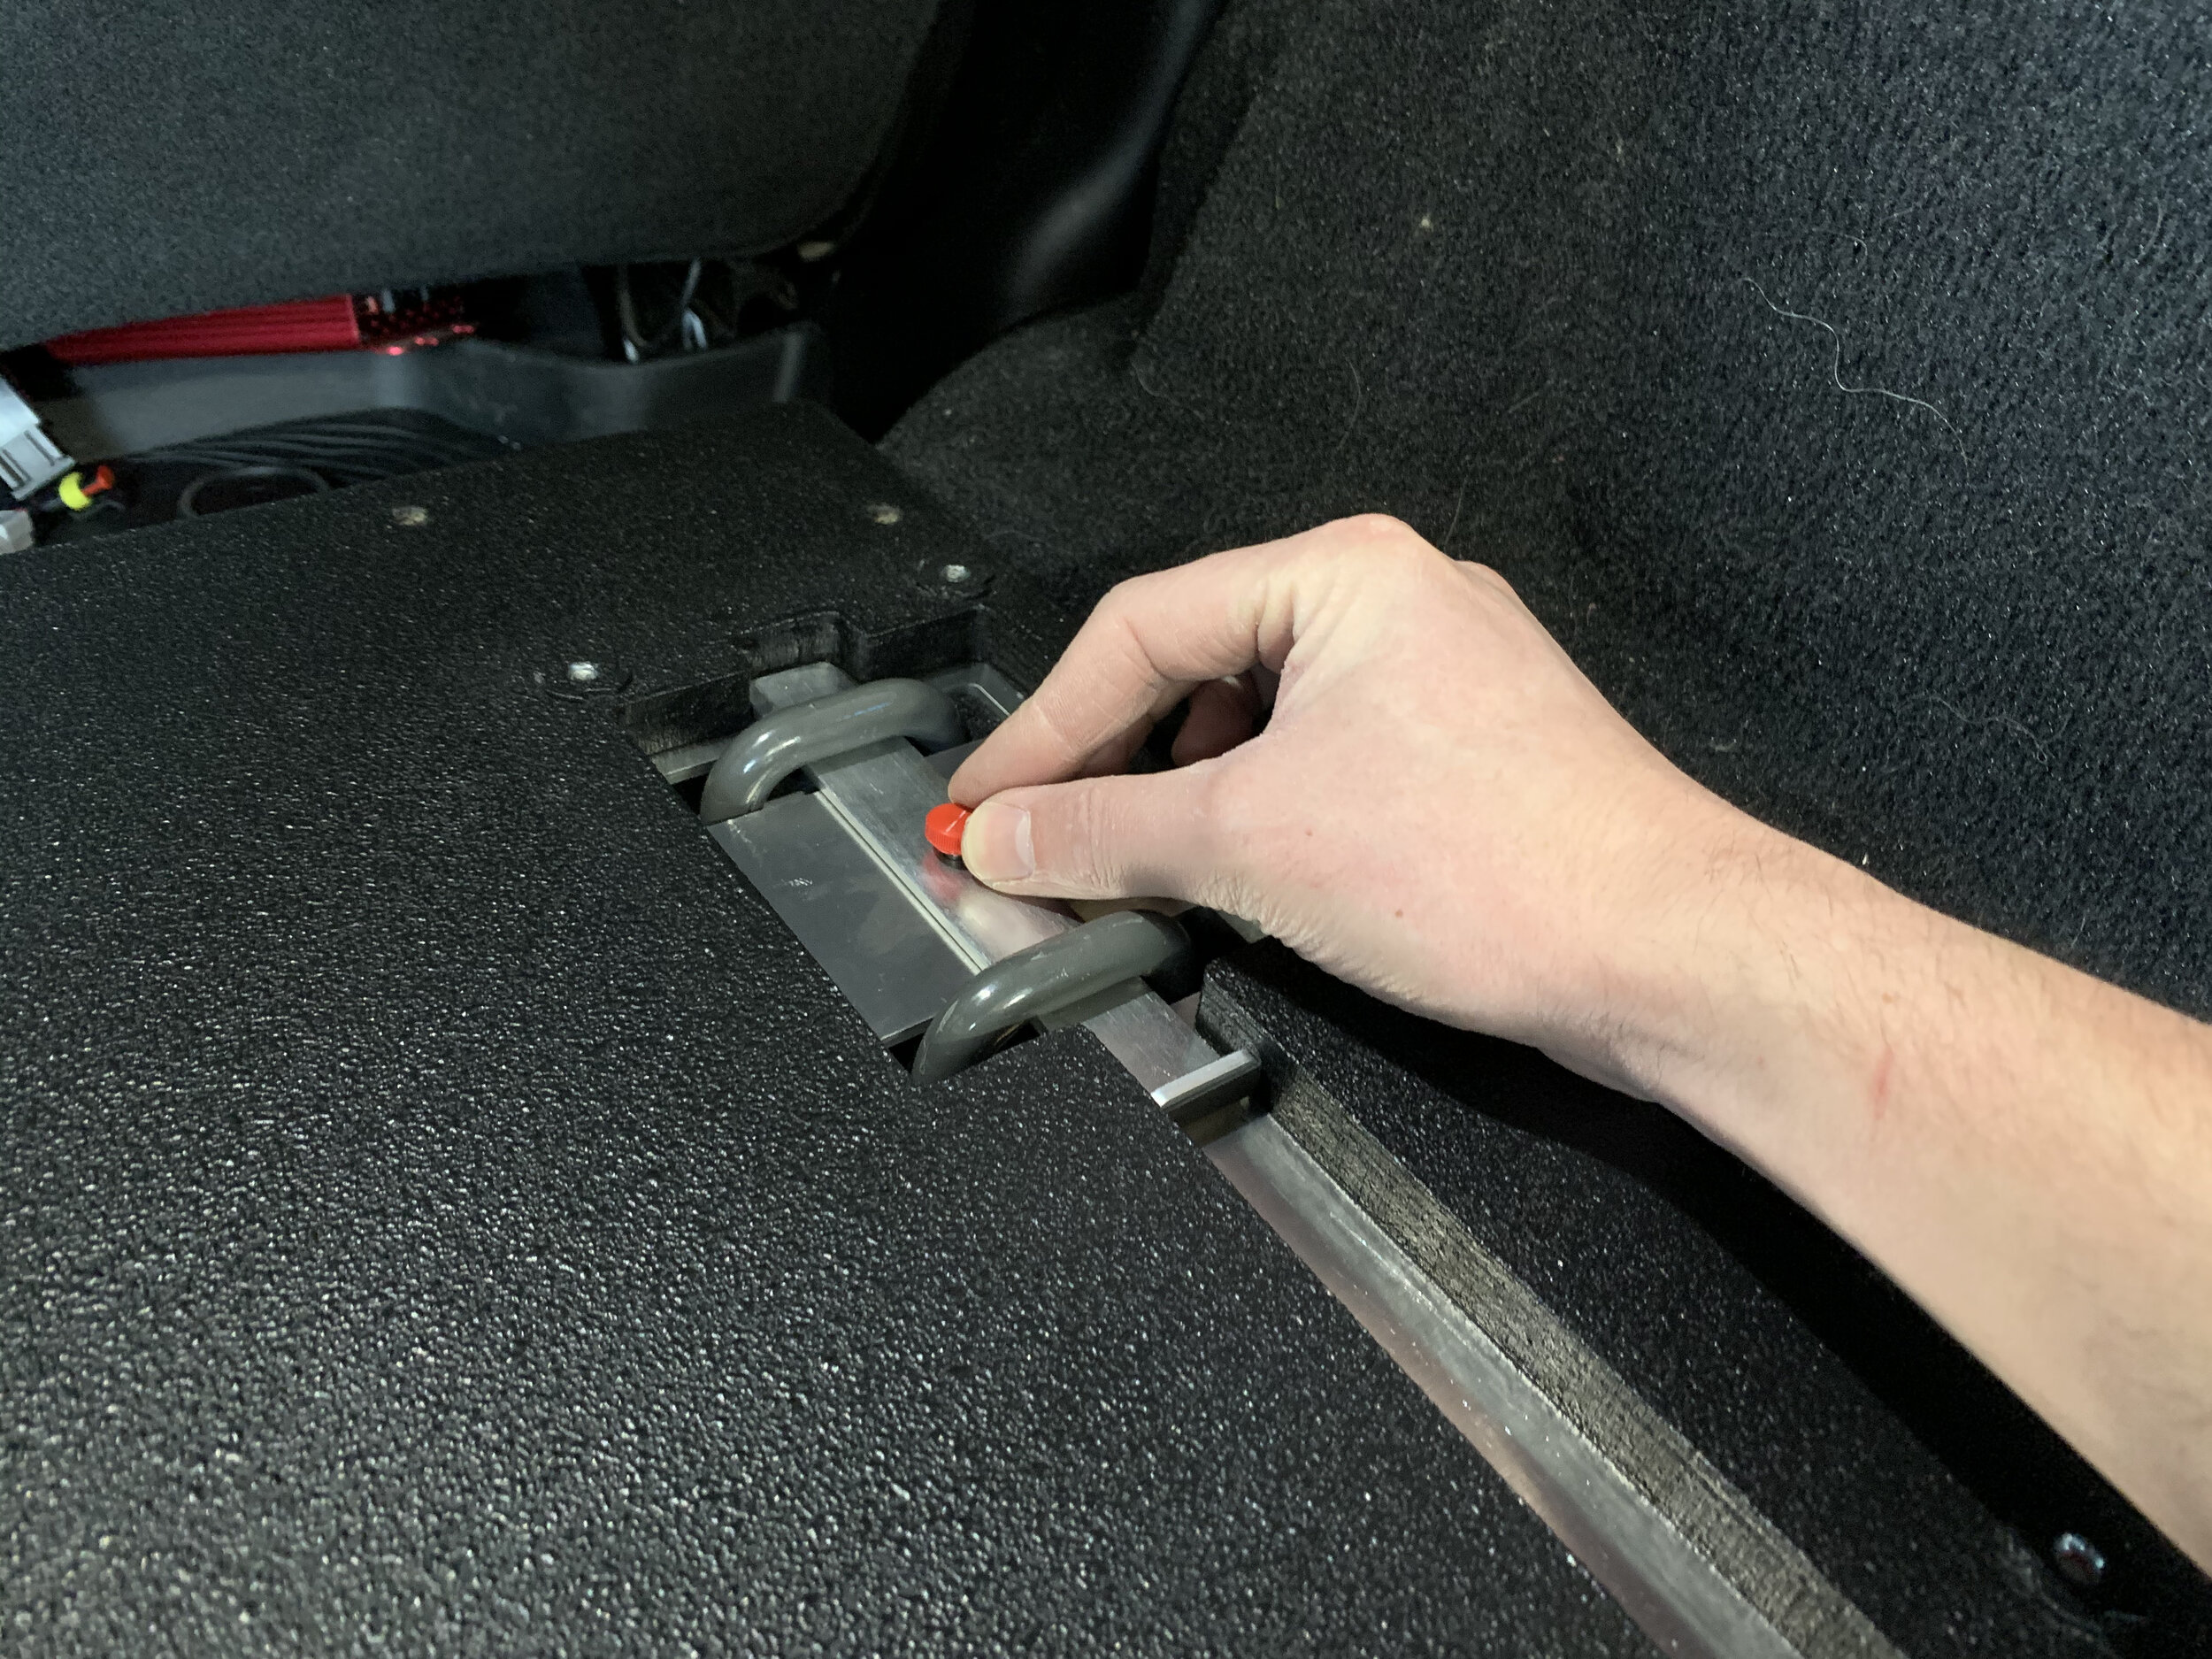
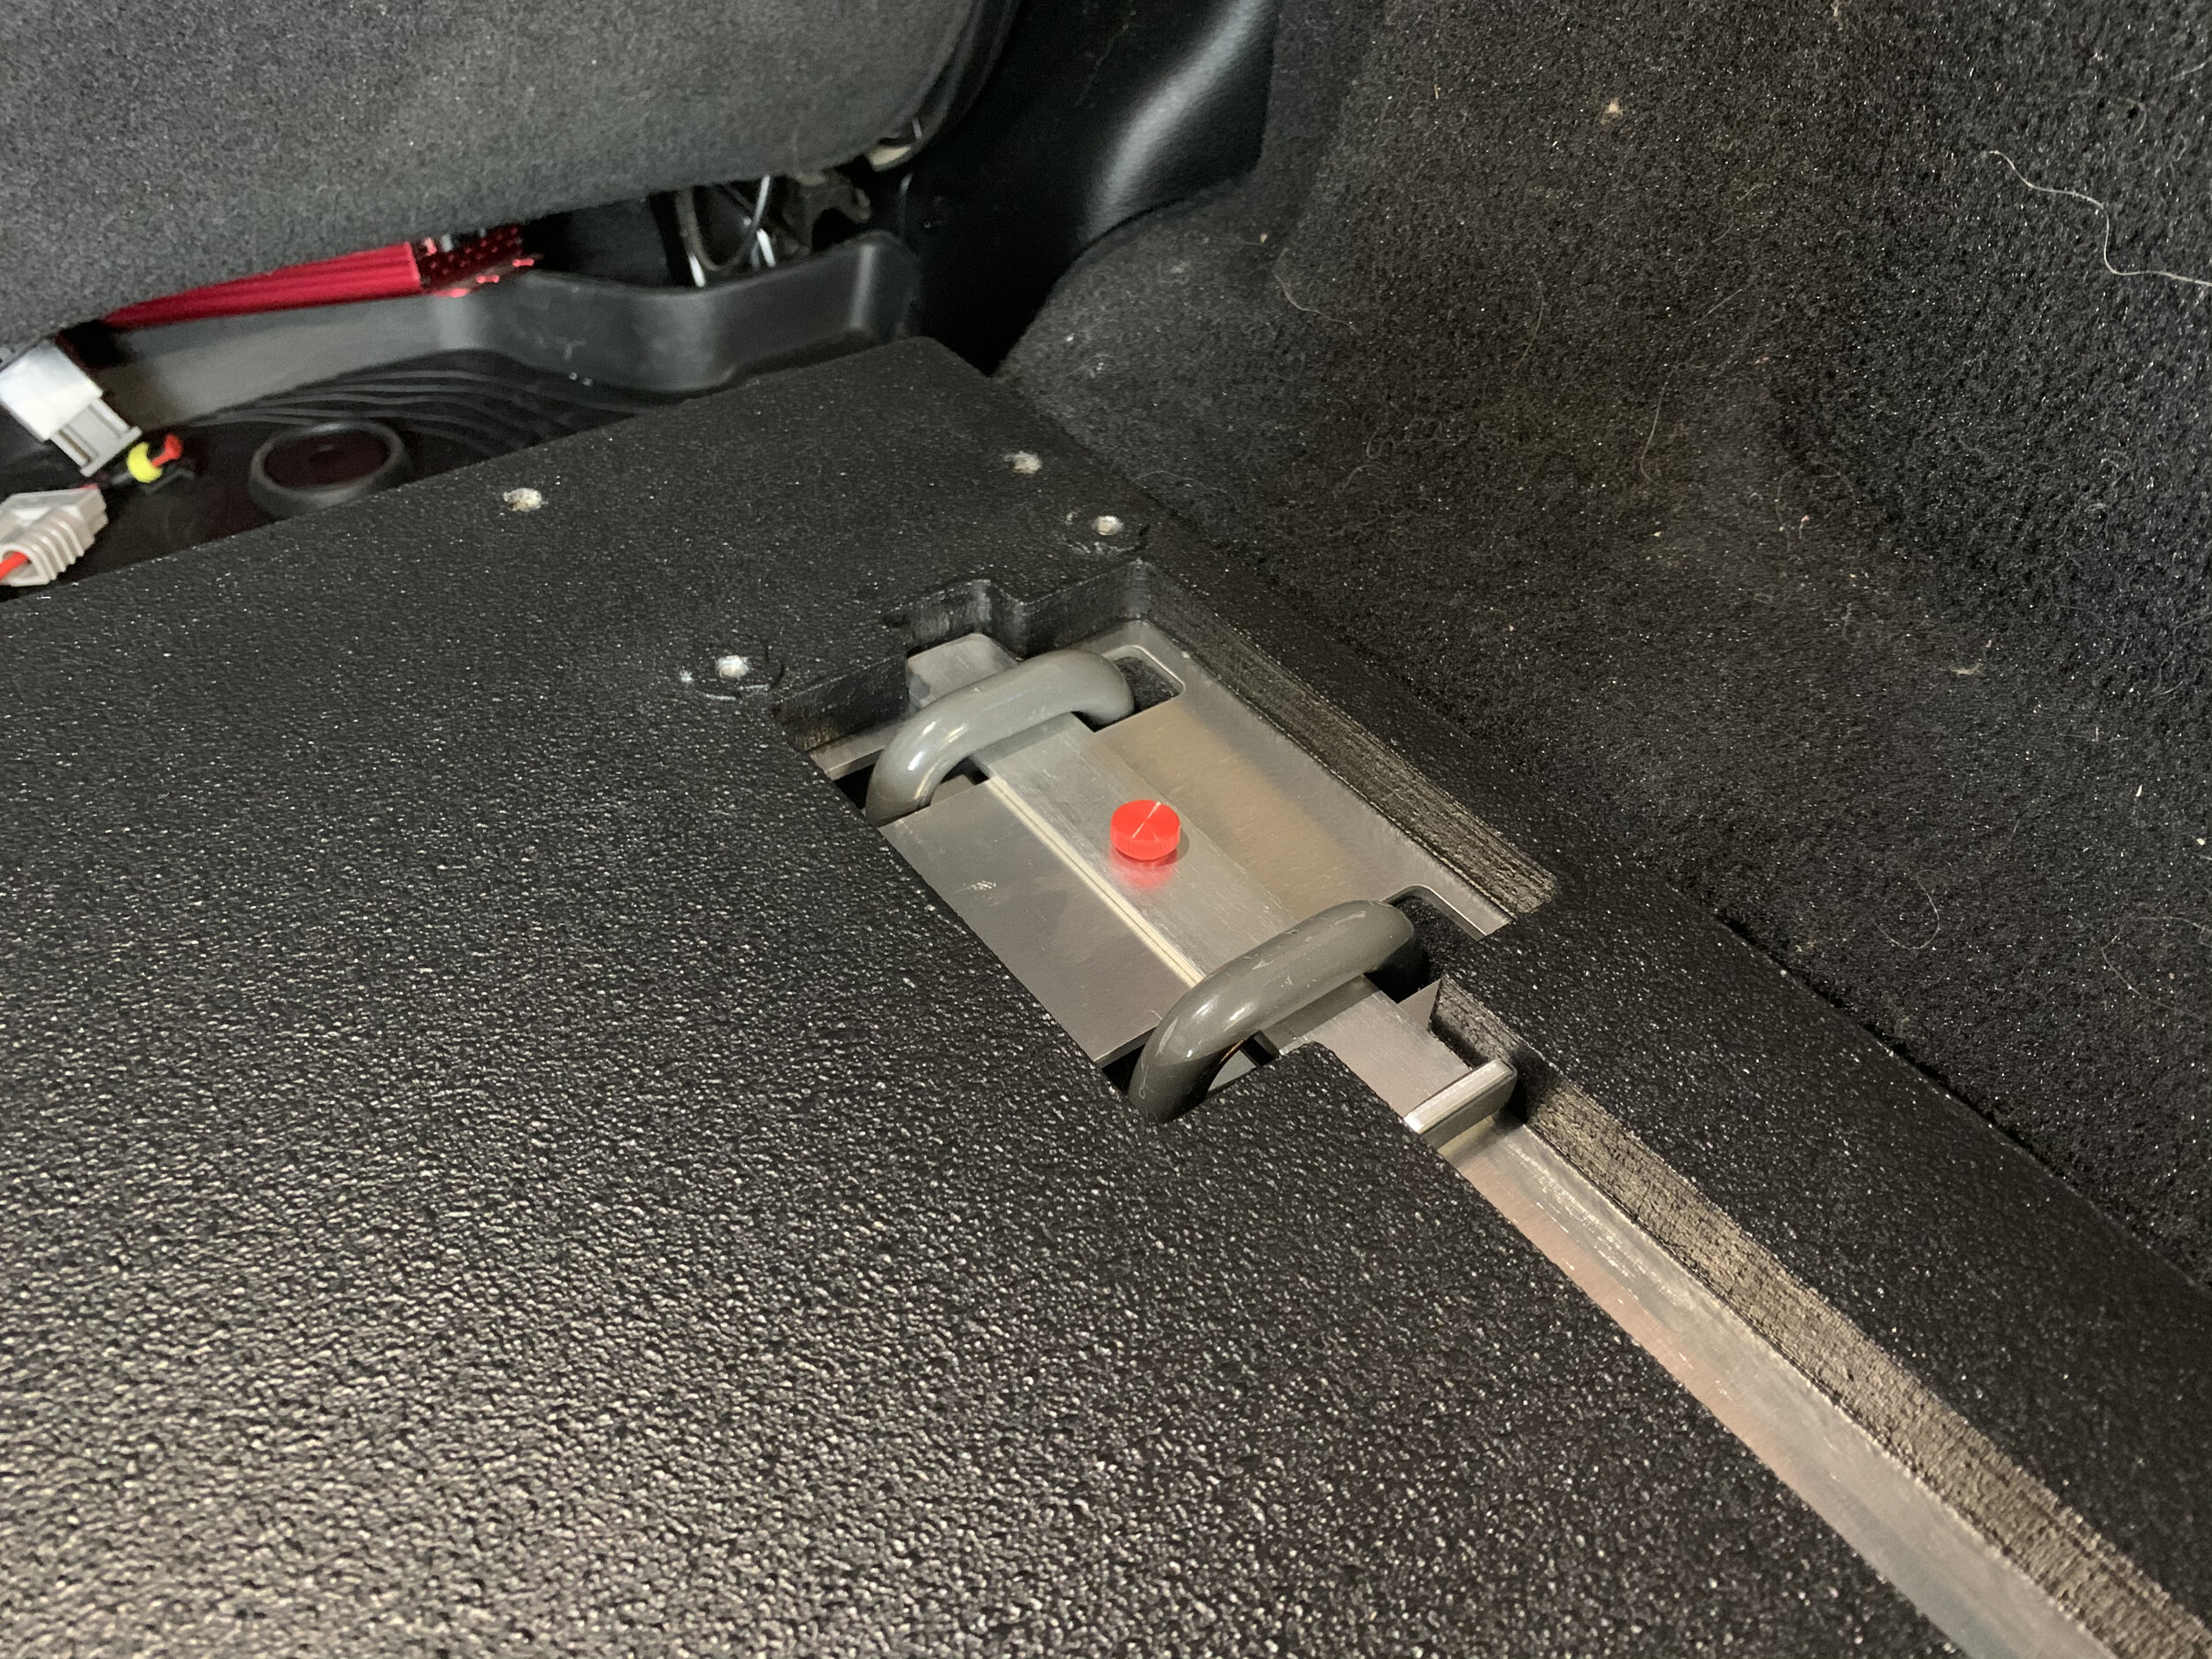
Slide the locking tabs forward and align the hole in the tab with the threaded hole in the mounting plate. Fit should be snug but not difficult. If you encounter excessive resistance or the fit feels really tight, make sure the edges of the wheel well carpet sections are not underneath the base.
Thread and tighten the red thumb screws to secure the locking tabs in place.

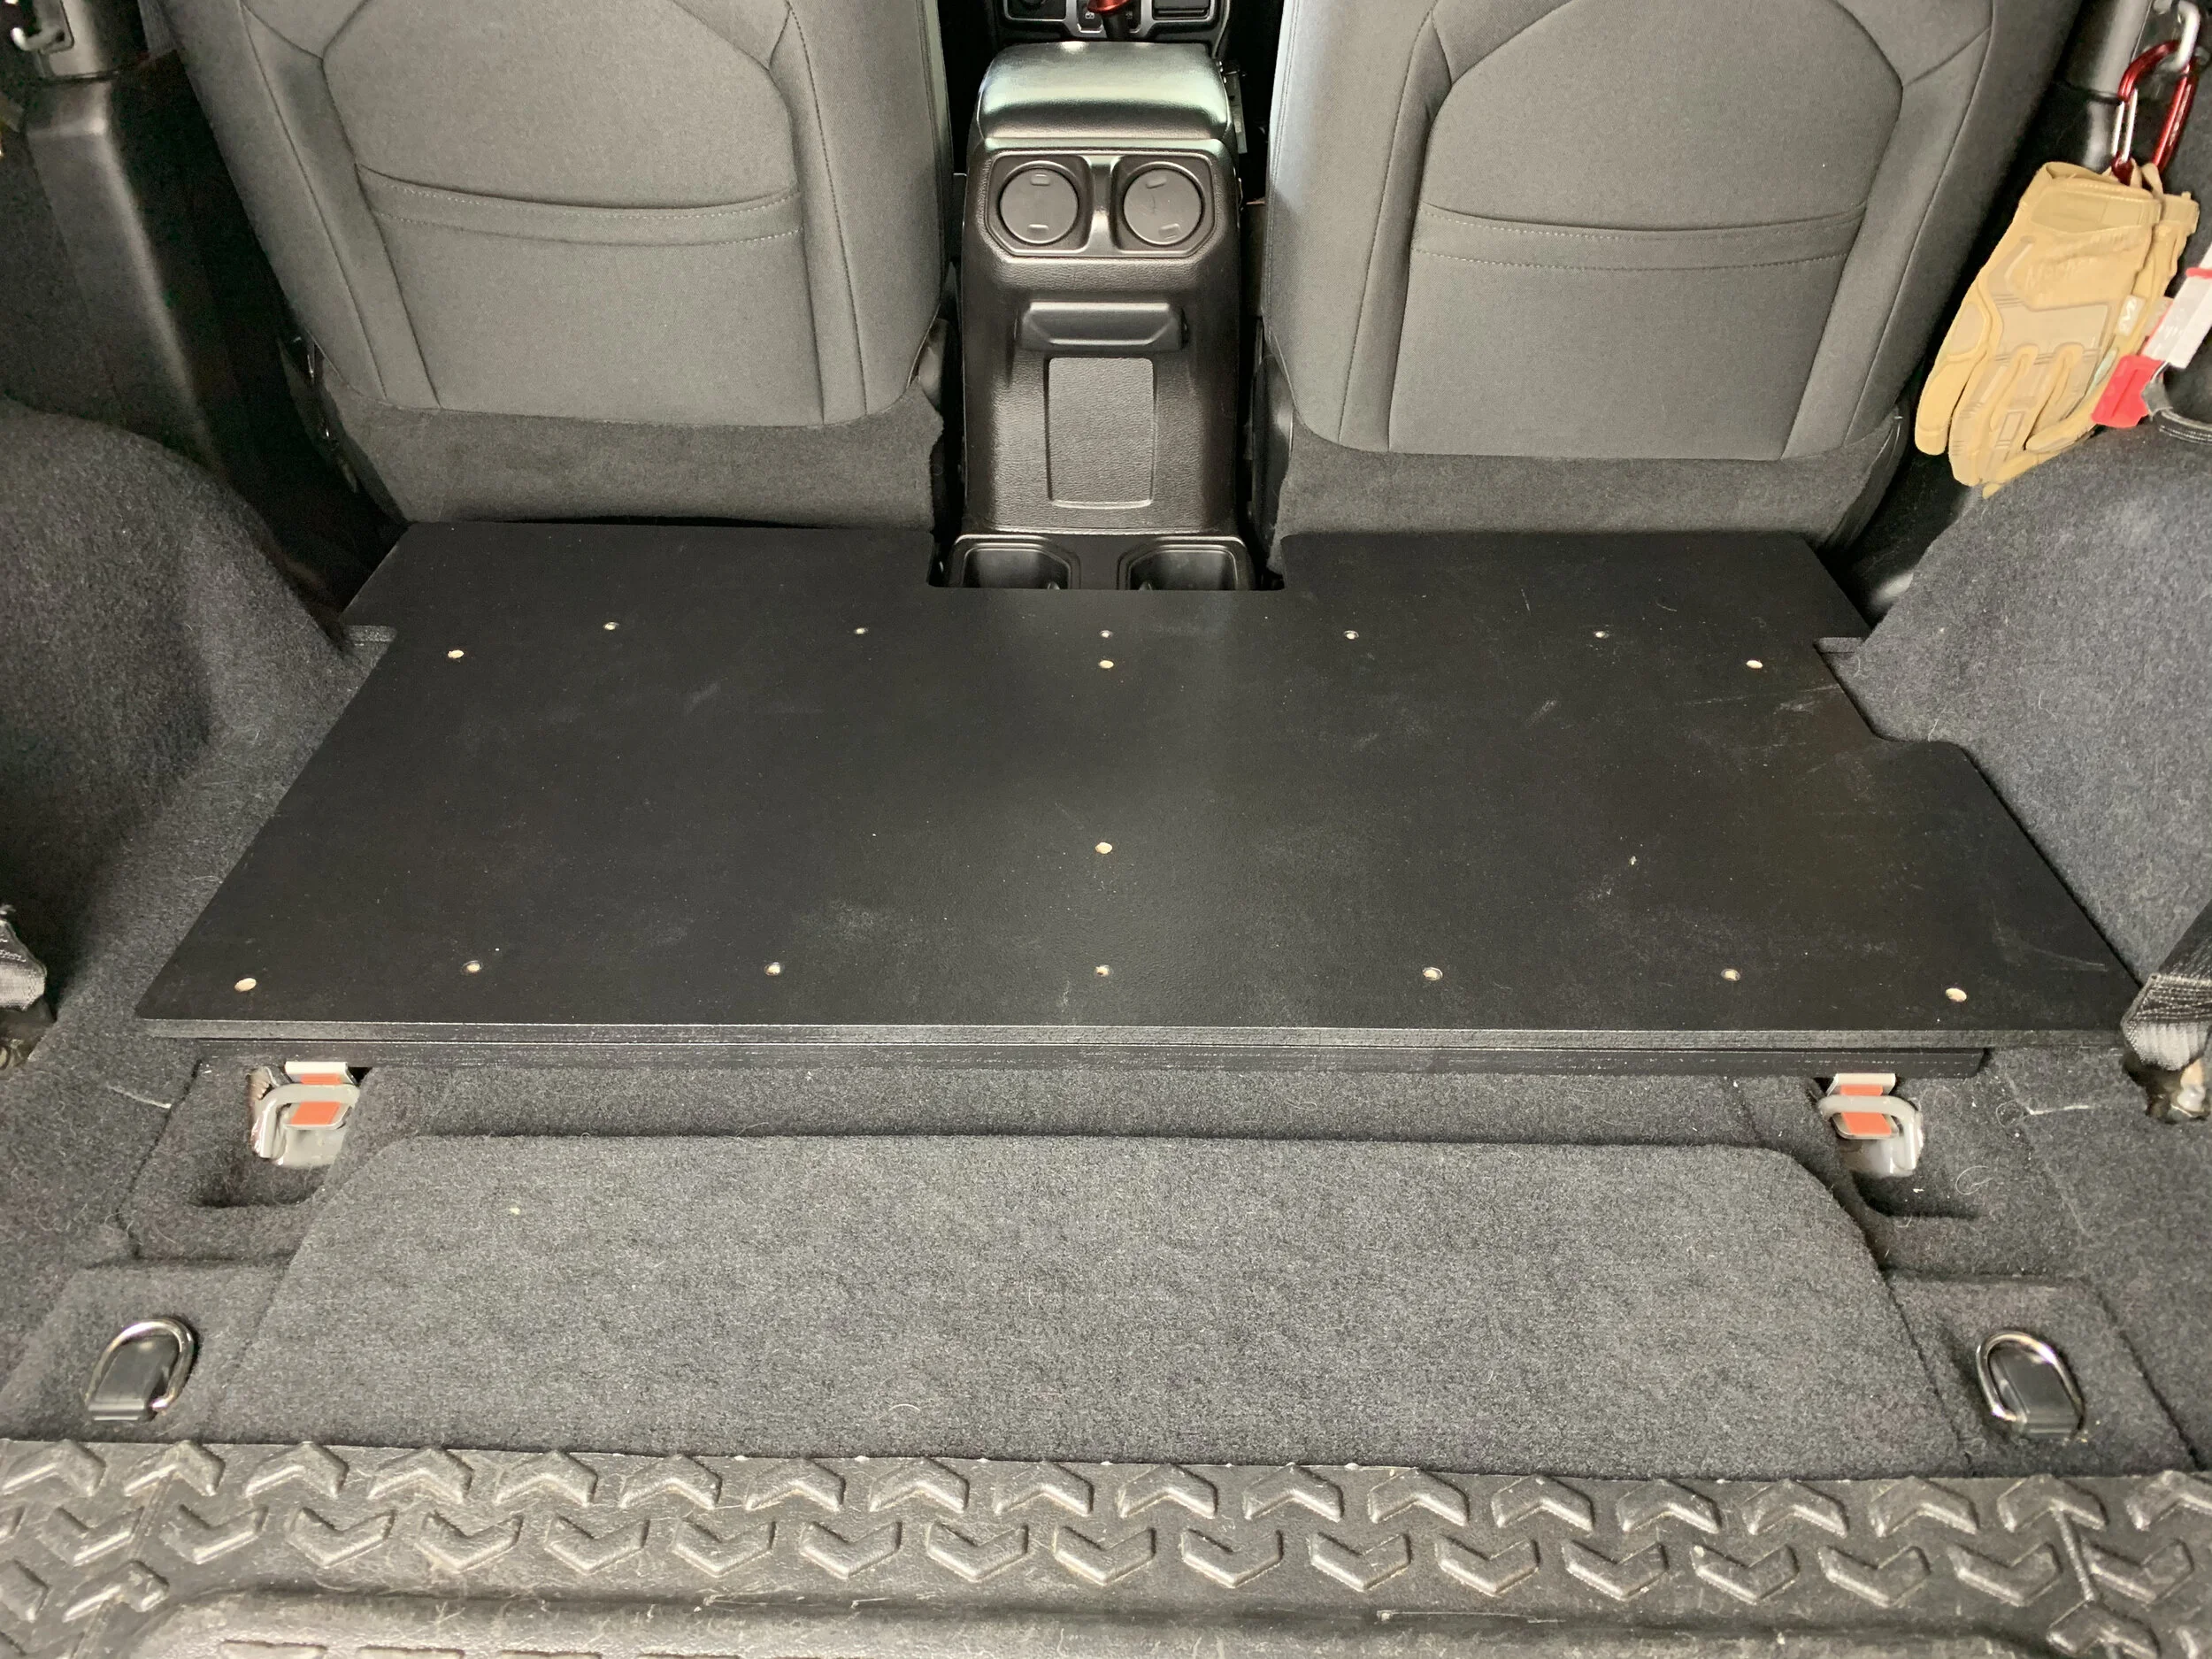
Step 4 - Install the top plate.
Lay the top plate on top of the deck base.
Make sure the side with pockets for the heads of the Type A bolts are facing up.
Align the holes in the top plate with the threaded holes underneath.
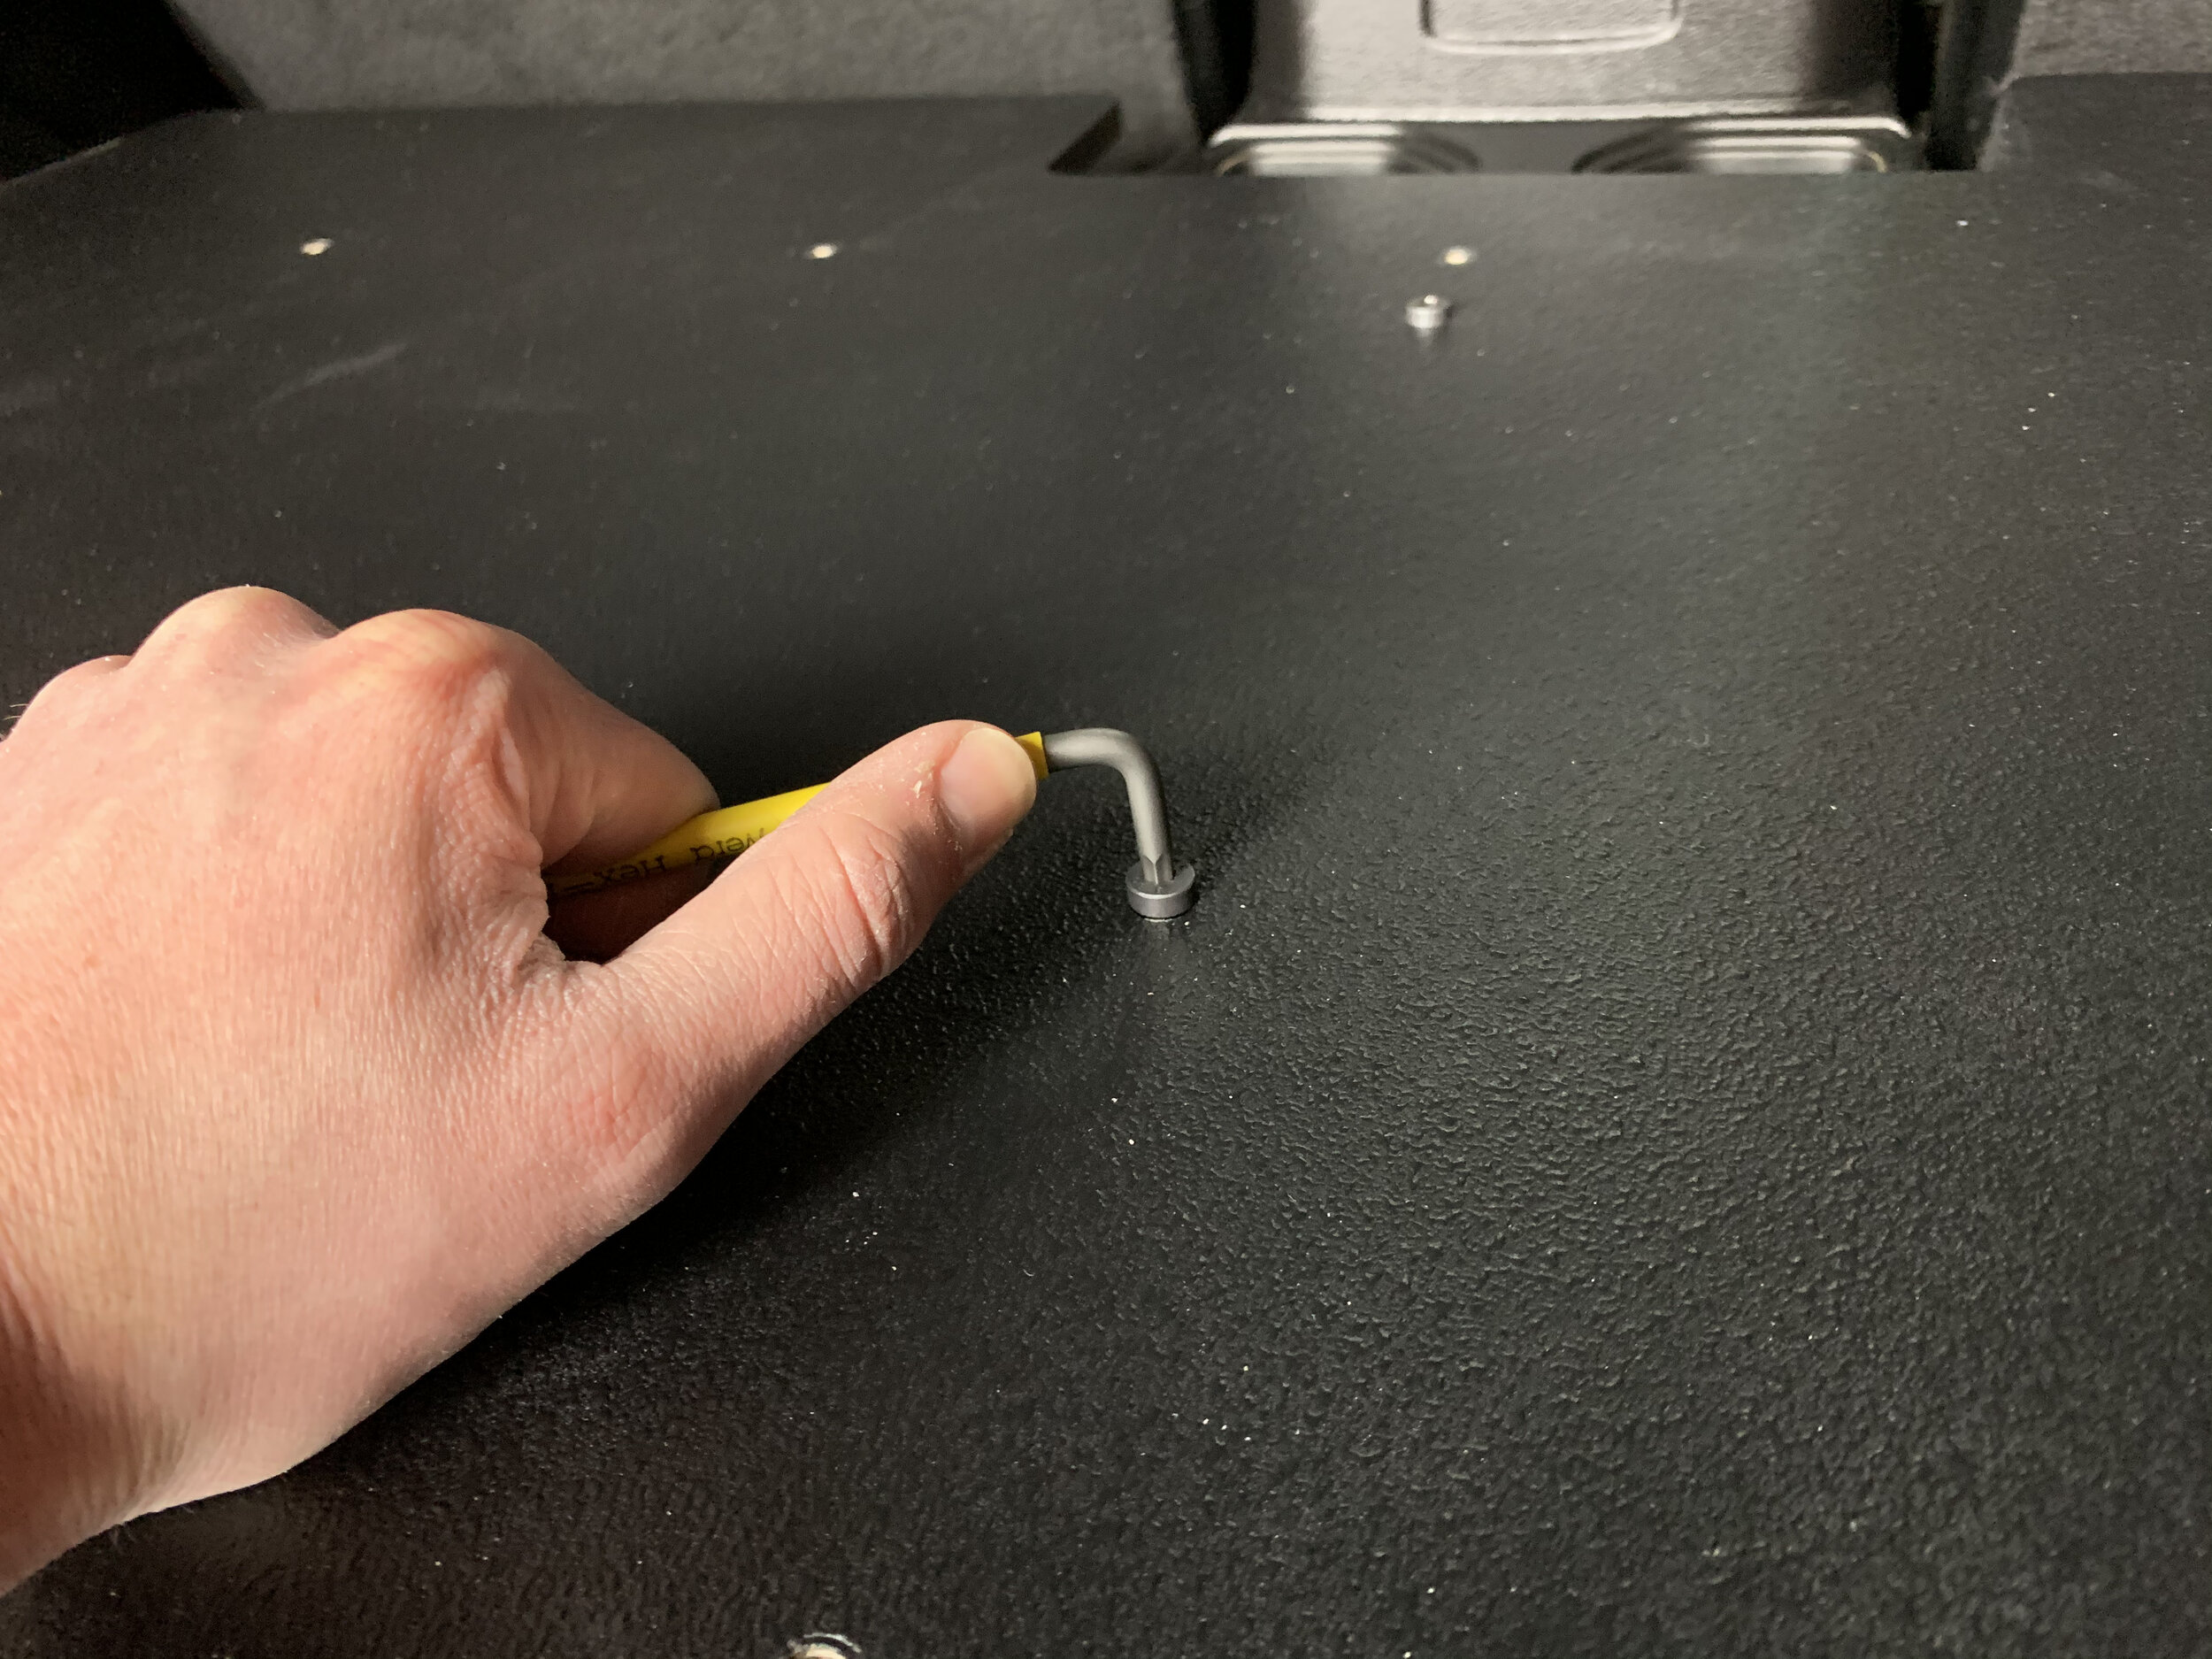
Install the 6 Type A bolts. Start all 6 by hand, leaving them slightly loose so the top plate is properly aligned. If any of the fasteners are not starting in the threads, apply a little pressure with a free hand or your knee to ensure both layers of the deck are flat against each other.
Torque the bolts using a 4mm allen key. Start with the center bolts and work your way out to ensure even tightening. Tighten bolts until the head of the bolt is flush with the top surface and the gap directly below the fastener is closed.
DO NOT OVER TIGHTEN THESE BOLTS. Over tightening cause cause damage and unnecessary wear to the Deck. The bolts should be “wrist tight”. We should avoid using power tools or hand tools that provide a lot of leverage for this job.
Step 5 - Install your gear.
Use the (10) Type B bolts to attach your gear to the deck. This length of screw can accommodate mounting anything up to 1/8” thick. For anything thicker, you’ll need to use some longer screws. Use the table below for recommended lengths.
Do not to use screws that are too long- they can damage your carpet and scratch your tub if they poke through the back!
